
Giriş
The AKG C520 is a professional head-worn condenser microphone designed for hands-free vocal performance. It offers a wide dynamic range for clear vocal sound, making it suitable for vocalists, keyboardists, drummers, guitarists, and dancing performers. Its design incorporates features to ensure durability and high-quality audio in various live performance settings.
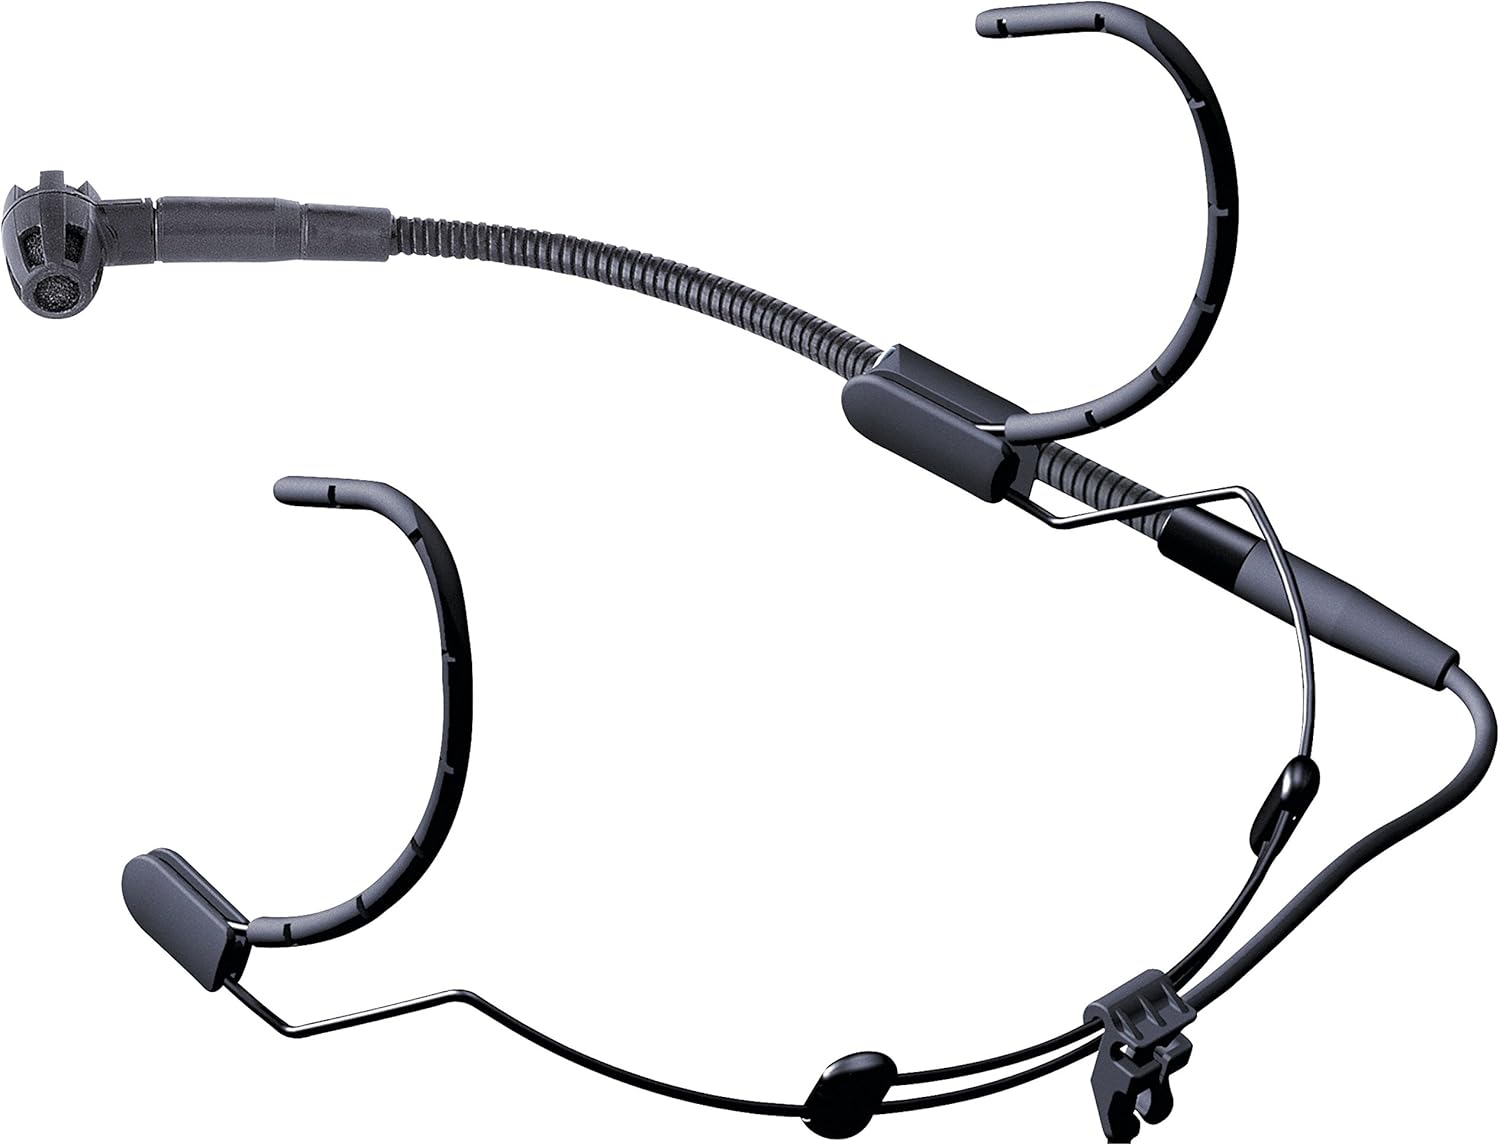
Nə Daxildir
The AKG C520 package typically includes the following components:
- C520 Head-Worn Microphone with Standard XLR Connector
- W44 Windscreen

Quraşdırma Bələdçisi
- Baş bandını tənzimləyin: Carefully place the headset on your head. Adjust the headband for a secure yet comfortable fit. The lightweight design allows for extended wear without discomfort.
- Position the Boom Arm: The microphone boom arm can be mounted on either the left or right side of the headband. Position the boom arm so that the microphone capsule is approximately 1-2 inches from the corner of your mouth. This precise positioning helps optimize sound capture and minimize plosives.
- Attach the Windscreen: Slide the W44 windscreen over the microphone capsule. The windscreen helps reduce breath noises and plosives, especially in live performance environments.
- XLR kabelini birləşdirin: Connect the standard XLR connector of the C520 microphone to a compatible audio input on your mixing console, amplifier, or audio interface. Ensure the connection is firm.
- Activate Phantom Power: The AKG C520 is a condenser microphone and requires fantom güc (typically +48V) to operate. Ensure that phantom power is activated on the input channel of your connected audio device. Without phantom power, the microphone will not function.

Əməliyyat Təlimatları
- Mikrofonun yerləşdirilməsi: The C520 features a cardioid polar pattern, which is most sensitive to sound from the front and rejects sound from the sides and rear. This helps minimize feedback and unwanted ambient noise. Ensure the microphone capsule is pointed directly towards your mouth for optimal vocal capture.
- Qazanc Staging: Set the input gain on your mixer or audio interface to an appropriate level. Start with the gain low and gradually increase it while speaking or singing into the microphone until a strong, clear signal is achieved without clipping (distortion).
- Nəmdən qorunma: The integrated moisture shield prevents perspiration from reaching the transducer element, ensuring consistent performance even during energetic activities.
- Səs-küyün azaldılması: The transducer shock mount effectively reduces mechanical noise, body noise, and handling noise, providing a cleaner audio signal.
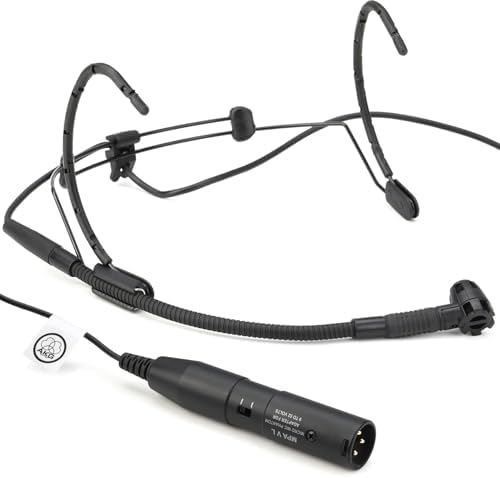
Baxım
- Təmizləmə: Use a soft, dry cloth to wipe down the headband and boom arm after each use. For the microphone capsule and windscreen, gently remove any debris. Avoid using harsh chemicals or abrasive materials.
- Ön şüşəyə qulluq: The W44 windscreen can be carefully removed and cleaned with mild soap and water if necessary. Ensure it is completely dry before reattaching.
- Yaddaş: Store the microphone in a clean, dry place, preferably in its original packaging or a protective case, to prevent dust accumulation and physical damage. Avoid extreme temperatures and humidity.
- Kabel yoxlaması: Periodically check the XLR cable for any signs of wear, fraying, or damage. Damaged cables can affect audio quality and reliability.
Problemlərin aradan qaldırılması
| Problem | Mümkün Səbəb | Həll |
|---|---|---|
| Səs çıxışı yoxdur | Phantom power not activated; incorrect connection; faulty cable. | Ensure +48V phantom power is enabled on the mixer/interface. Check all cable connections. Test with a different XLR cable if available. |
| Aşağı və ya zəif səs | Low input gain; microphone too far from mouth. | Increase input gain on your audio device. Adjust the boom arm to position the microphone closer to your mouth (1-2 inches). |
| Təhrif edilmiş səs | Input gain too high; microphone too close to mouth (plosives). | Reduce input gain. Slightly reposition the microphone further from your mouth or slightly to the side to minimize plosives. Ensure the windscreen is properly installed. |
| Həddindən artıq fon səs-küyü/geribildirim | Microphone picking up ambient sound; improper speaker placement. | Ensure the microphone is pointed directly at the sound source and away from speakers. Utilize the cardioid pattern effectively. Adjust monitor speaker placement. |
Texniki Spesifikasiyalar
| Xüsusiyyət | Detal |
|---|---|
| Mikrofon Forma Faktoru | Head-worn, microphone only |
| Qütb nümunəsi | Bir istiqamətli (Kardioid) |
| Güc mənbəyi | Phantom Power (+48V required) |
| Bağlayıcı növü | Standart XLR |
| Tezliyə cavab | 15 KHz (upper limit, typical range is wider) |
| Siqnal-to-küy nisbəti | 80 dB |
| Maddə Çəkisi | 0.68 Funt (təxminən 10.9 unsiya) |
| Məhsulun Ölçüləri (U x G x Y) | 7.8 x 5.5 x 2.7 düym |
| Material | plastik |
| Rəng | Qara |
| Daxil olan komponentlər | C520 Head-Worn Microphone, W44 Windscreen |
| Uyğun Cihazlar | Şəxsi kompüter, Amplifier, Mixing Console (with XLR input and phantom power) |
Zəmanət və Dəstək Məlumatı
The AKG C520 Professional Head-Worn Condenser Microphone is covered by a manufacturer's warranty. For detailed information regarding warranty terms, duration, and conditions, please refer to the documentation included with your purchase or visit the official AKG websayt.
For technical support, service, or further inquiries, please contact AKG customer service through their official website or authorized service centers. Keep your proof of purchase for warranty claims.
Official AKG Websayt: www.akg.com


