
1. Giriş
This manual provides essential information for the safe and efficient operation of your Reloop RP-7000 MK2 Direct Drive High Torque Turntable. Please read these instructions thoroughly before using the product to ensure proper setup, optimal performance, and longevity of your equipment. Keep this manual for future reference.
2. Təhlükəsizlik Təlimatları
- Enerji təchizatı: Cihazı yalnız göstərilən həcmli AC rozetkasına qoşuntage. Elektrik kabelinin zədələnmədiyinə və ya sıxılmadığına əmin olun.
- Nəmlik: Do not expose the unit to rain, moisture, or excessive humidity. Avoid placing liquid-filled objects on the turntable.
- Havalandırma: Cihazın ətrafında adekvat ventilyasiya olmasını təmin edin. Havalandırma deliklərini bağlamayın.
- Yerləşdirmə: Place the turntable on a stable, level surface away from direct sunlight, heat sources, and strong magnetic fields.
- Təmizləmə: Disconnect the power before cleaning. Use a soft, dry cloth. Avoid liquid cleaners or solvents.
- Xidmət: Cihaza özünüz xidmət göstərməyə çalışmayın. Bütün xidmətlər üçün ixtisaslı işçilərə müraciət edin.
3. Paketin məzmunu
Aşağıda sadalanan bütün elementlərin paketinizə daxil olduğunu yoxlayın. Hər hansı bir əşya əskik və ya zədələnmişsə, dərhal dilerinizlə əlaqə saxlayın.
- Reloop RP-7000 MK2 Direct Drive High Torque Turntable (x2)
- Dust Cover (x2)
- Digital Turntable Stylus Scale
- Record Care Solution
- Elektrik kabeli
- RCA Cable
- Yer teli
- Slipmat
- Əks çəki
- Headshell with Cartridge (pre-mounted or separate, depending on region/bundle)

Şəkil 1: Bitdiview of the Reloop RP-7000 MK2 turntable bundle components.
4. Quraşdırma
4.1 Qabın açılması və yerləşdirilməsi
- Carefully remove all components from the packaging. Retain packaging for future transport.
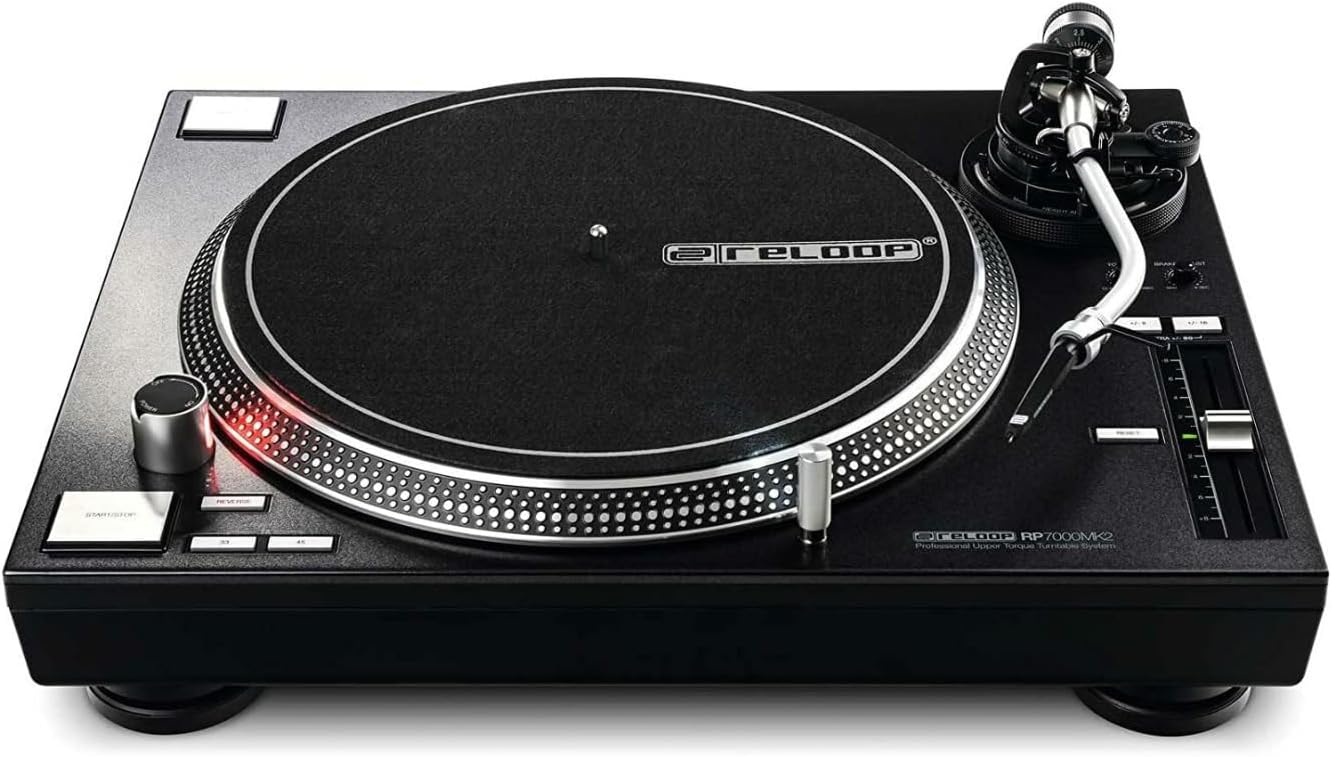
- Place the turntable on a flat, stable, and vibration-free surface. Ensure there is enough space for the dust cover to open fully.
- Attach the dust cover by aligning its hinges with the slots on the turntable's rear.

Şəkil 2: Turntable with the dust cover in place.
4.2 Platter and Slipmat Installation
- Carefully place the platter onto the center spindle. Ensure it sits flush.
- Place the slipmat on top of the platter.
4.3 Tonearm and Cartridge Setup
- If not pre-mounted, attach the headshell with the cartridge to the tonearm. Secure it by turning the locking ring.
- Screw the counterweight onto the rear of the tonearm.
- Balance the Tonearm: Tonearm cl buraxınamp. Adjust the counterweight until the tonearm is perfectly balanced and floats horizontally.
- Set Tracking Force: Return the tonearm to its rest and clamp it. Rotate the numbered ring on the counterweight to '0' without moving the counterweight itself. Then, rotate the entire counterweight to the recommended tracking force for your cartridge (typically 2-4 grams for DJ cartridges).
- Set Anti-Skate: Adjust the anti-skate dial to match the tracking force setting.
4.4 Using the Digital Stylus Scale
The included digital stylus scale allows for precise measurement of your cartridge's tracking force, ensuring optimal sound quality and minimizing record wear.
- Place the stylus scale on the platter.
- Güc düyməsini istifadə edərək tərəzi yandırın.
- Carefully lower the stylus onto the designated measuring point on the scale.
- Read the tracking force displayed. Adjust the tonearm's counterweight as needed until the desired force is achieved.

Şəkil 3: Digital Stylus Scale for precise tracking force measurement.
4.5 Əlaqələr
- Audio Çıxış: Connect the RCA cables from the turntable's audio output to the PHONO input of your mixer or amplifier. If your mixer/amplifier does not have a PHONO input, you will need an external phono preampömürlük.
- Torpaq teli: Connect the ground wire from the turntable to the ground terminal on your mixer or amplifier to reduce hum.
- Güc: Connect the power cable to the turntable and then to a suitable AC power outlet.
5. Əməliyyat Təlimatları
5.1 Əsas Oynatma
- Place a record on the slipmat.
- Sürət seçici düymələrindən istifadə edərək müvafiq sürəti (33, 45 və ya 78 RPM) seçin.
- düyməsini basın START/STOP button to begin platter rotation.
- Carefully lift the tonearm using the cueing lever and position the stylus over the desired groove on the record.
- Lower the cueing lever to gently place the stylus onto the record.
- To stop playback, lift the tonearm using the cueing lever, return it to the tonearm rest, and press the START/STOP düyməsi.
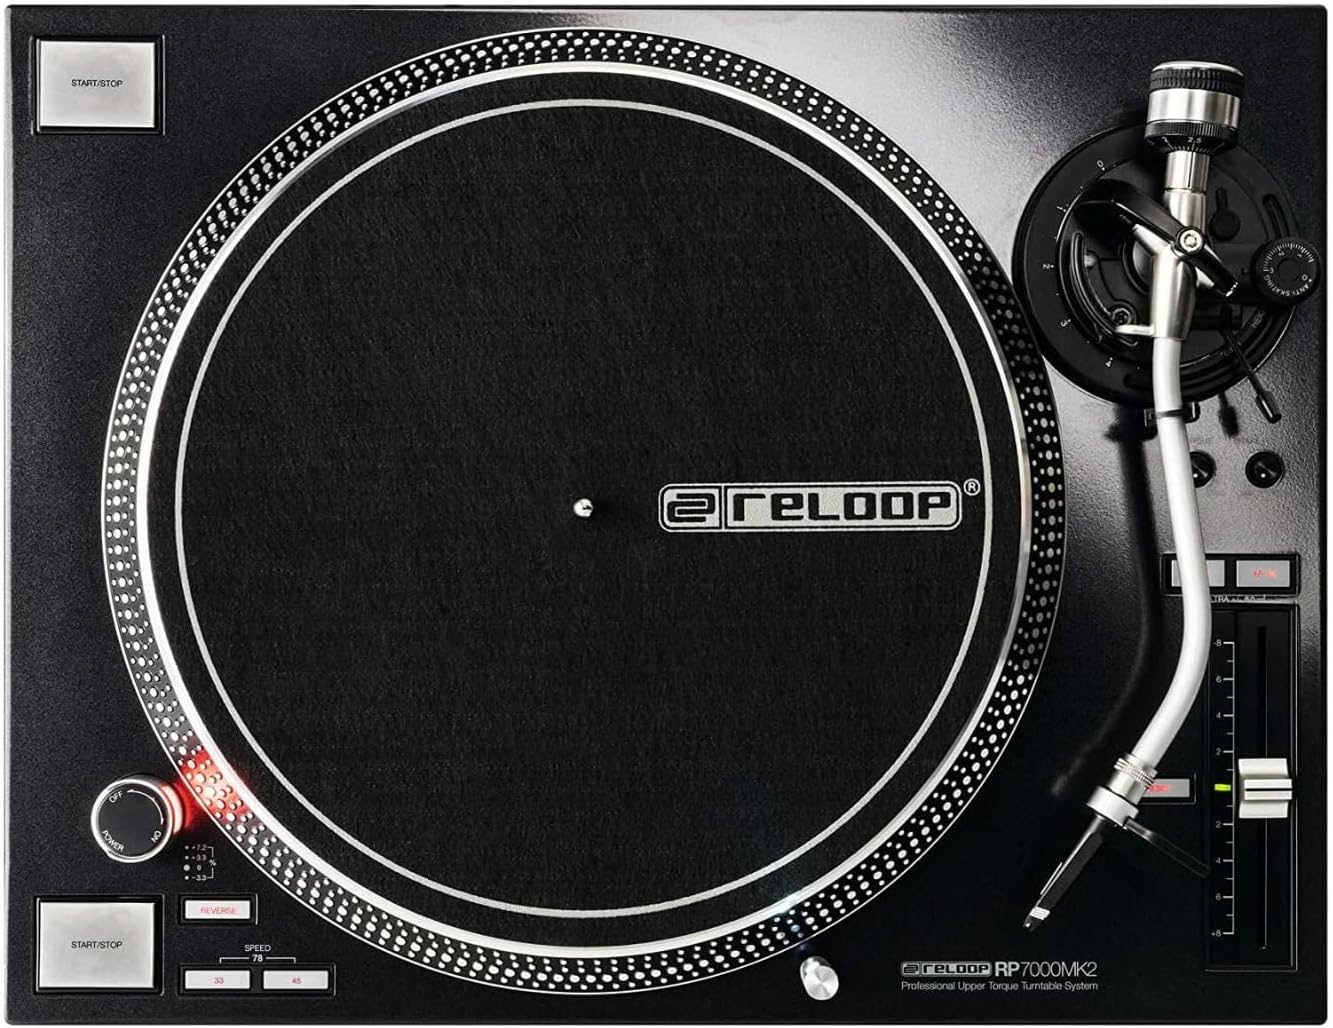
Şəkil 4: Turntable platter and control layout.
5.2 Pitch Control
The pitch fader allows you to adjust the playback speed (BPM) of the record. Move the fader up or down to increase or decrease the pitch. The pitch range can be selected using the range buttons (e.g., +/- 8%, 16%, 50%).
5.3 Əks funksiya
The RP-7000 MK2 features a reverse playback function. Press the TERS button to change the direction of platter rotation. Press it again to return to normal playback.
6. Baxım
6.1 Plitəni təmizləmək
- Təmizləməzdən əvvəl həmişə elektrik enerjisini ayırın.
- Use a soft, dry, lint-free cloth to wipe the surface of the turntable and dust cover.
- Aşındırıcı təmizləyicilərdən, həlledicilərdən və ya kimyəvi spreylərdən istifadə etməkdən çəkinin, çünki bunlar örtüyə zərər verə bilər.
6.2 Qələm Baxımı
- Gently brush the stylus from back to front using a soft stylus brush to remove dust and debris.
- Barmaqlarınızla qələmə toxunmaqdan çəkinin.
6.3 Record Care
The included record care solution helps maintain the quality of your vinyl records and prolong their lifespan.
- Apply a small amount of record care solution to a clean, soft, lint-free cloth or a dedicated record cleaning brush.
- Gently wipe the record surface in a circular motion, following the grooves.
- Allow the record to dry completely before playing.
Şəkil 5: Record Care Solution for maintaining vinyl quality.
7. Giderme
| Problem | Mümkün Səbəb | Həll |
|---|---|---|
| Güc yoxdur | Elektrik kabeli qoşulmayıb; çıxış aktiv deyil | Check power cable connection; test outlet with another device |
| Səs və ya aşağı səs yoxdur | RCA cables incorrect; no PHONO input; amplifier/mixer settings | Ensure RCA cables are connected to PHONO input; check amplifier/mixer input selection and volume |
| Vuruş səsi | Ground wire not connected; interference | Connect ground wire; move turntable away from other electronic devices |
| Atlama və ya təhrif edilmiş səs | Incorrect tracking force; dirty stylus/record; damaged stylus | Adjust tracking force using stylus scale; clean stylus and record; replace stylus if damaged |
| Boşqab fırlanmır | START/STOP button not pressed; motor issue | Press START/STOP; if problem persists, contact support |
8. Spesifikasiyalar
| Xüsusiyyət | Detal |
|---|---|
| Model Adı | RP-7000 MK2 |
| Brend | Yenidən dön |
| Motor növü | Direct Drive DC Motor |
| Xüsusi Xüsusiyyət | Yüksək tork |
| Məhsul Ölçüləri | 27.9 x 20 x 18.6 düym |
| Material | Metal |
| Rəng | Qara |
| Uyğun Cihazlar | Speaker, Headphone, Personal Computer, MP3 Player, Laptop |
| Siqnal Formatı | Rəqəmsal |
9. Zəmanət və Dəstək
Reloop products are designed for reliability and performance. For warranty information, please refer to the warranty card included with your product or visit the official Reloop website. For technical support or service inquiries, please contact your authorized Reloop dealer or distributor.
İstehsalçı: Yenidən dön
İlk mövcud tarix: 8 iyul 2022-cü il