
1. Giriş
Welcome to the Nokia T10 Wi-Fi Tablet user manual. This guide provides essential information to help you set up, operate, maintain, and troubleshoot your new device. The Nokia T10 is an 8-inch HD Android 12 tablet designed for everyday use, offering a balance of performance and portability.
Please read this manual carefully to ensure proper use and to maximize the lifespan of your tablet.
2. Qutuda nə var
Upon unboxing your Nokia T10 tablet, please verify that all the following items are included:
- Nokia T10 Tablet Device
- Type-C USB Kabeli
- Şarj cihazı
- Tez Başlanğıc Kılavuzu (QSG)
- Təhlükəsizlik kitabçası
- User Guide Band
- Plastic Bag (packaging material)
If any items are missing or damaged, please contact your retailer or Nokia customer support immediately.
3. Quraşdırma
3.1 Planşetin doldurulması
Before first use, fully charge your Nokia T10 tablet. Connect the provided Type-C USB cable to the tablet's charging port and the other end to the charger. Plug the charger into a power outlet. The battery indicator on the screen will show the charging status.
3.2 Yandırma/Söndürmə
- Yandırmaq üçün: Press and hold the Power button until the Nokia logo appears.
- Söndürmək üçün: Press and hold the Power button until the power options appear on the screen. Select "Power off" and confirm.
- Yenidən Başlamaq üçün: Press and hold the Power button until the power options appear. Select "Restart" and confirm.
3.3 İlkin Quraşdırma
When you power on your tablet for the first time, you will be guided through an initial setup process:
- Dil seçimi: İstədiyiniz dili seçin.
- Wi-Fi Bağlantısı: Connect to a Wi-Fi network to access the internet. This is crucial for downloading updates and setting up your Google account.
- Google Hesabı: Sign in with your existing Google account or create a new one. This is necessary for accessing the Google Play Store, Gmail, and other Google services.
- Tarix və Saat: Set the correct date and time, or allow the network to set it automatically.
- Təhlükəsizlik: Set up a screen lock (PIN, pattern, password) and consider enabling AI Face Unlock for convenient access.
3.4 MicroSD kartın daxil edilməsi
The Nokia T10 supports expandable storage via a MicroSD card. Locate the SIM/SD card tray on the side of the tablet. Use the provided SIM ejector tool to open the tray. Carefully place the MicroSD card into the designated slot with the gold contacts facing down, then reinsert the tray firmly.
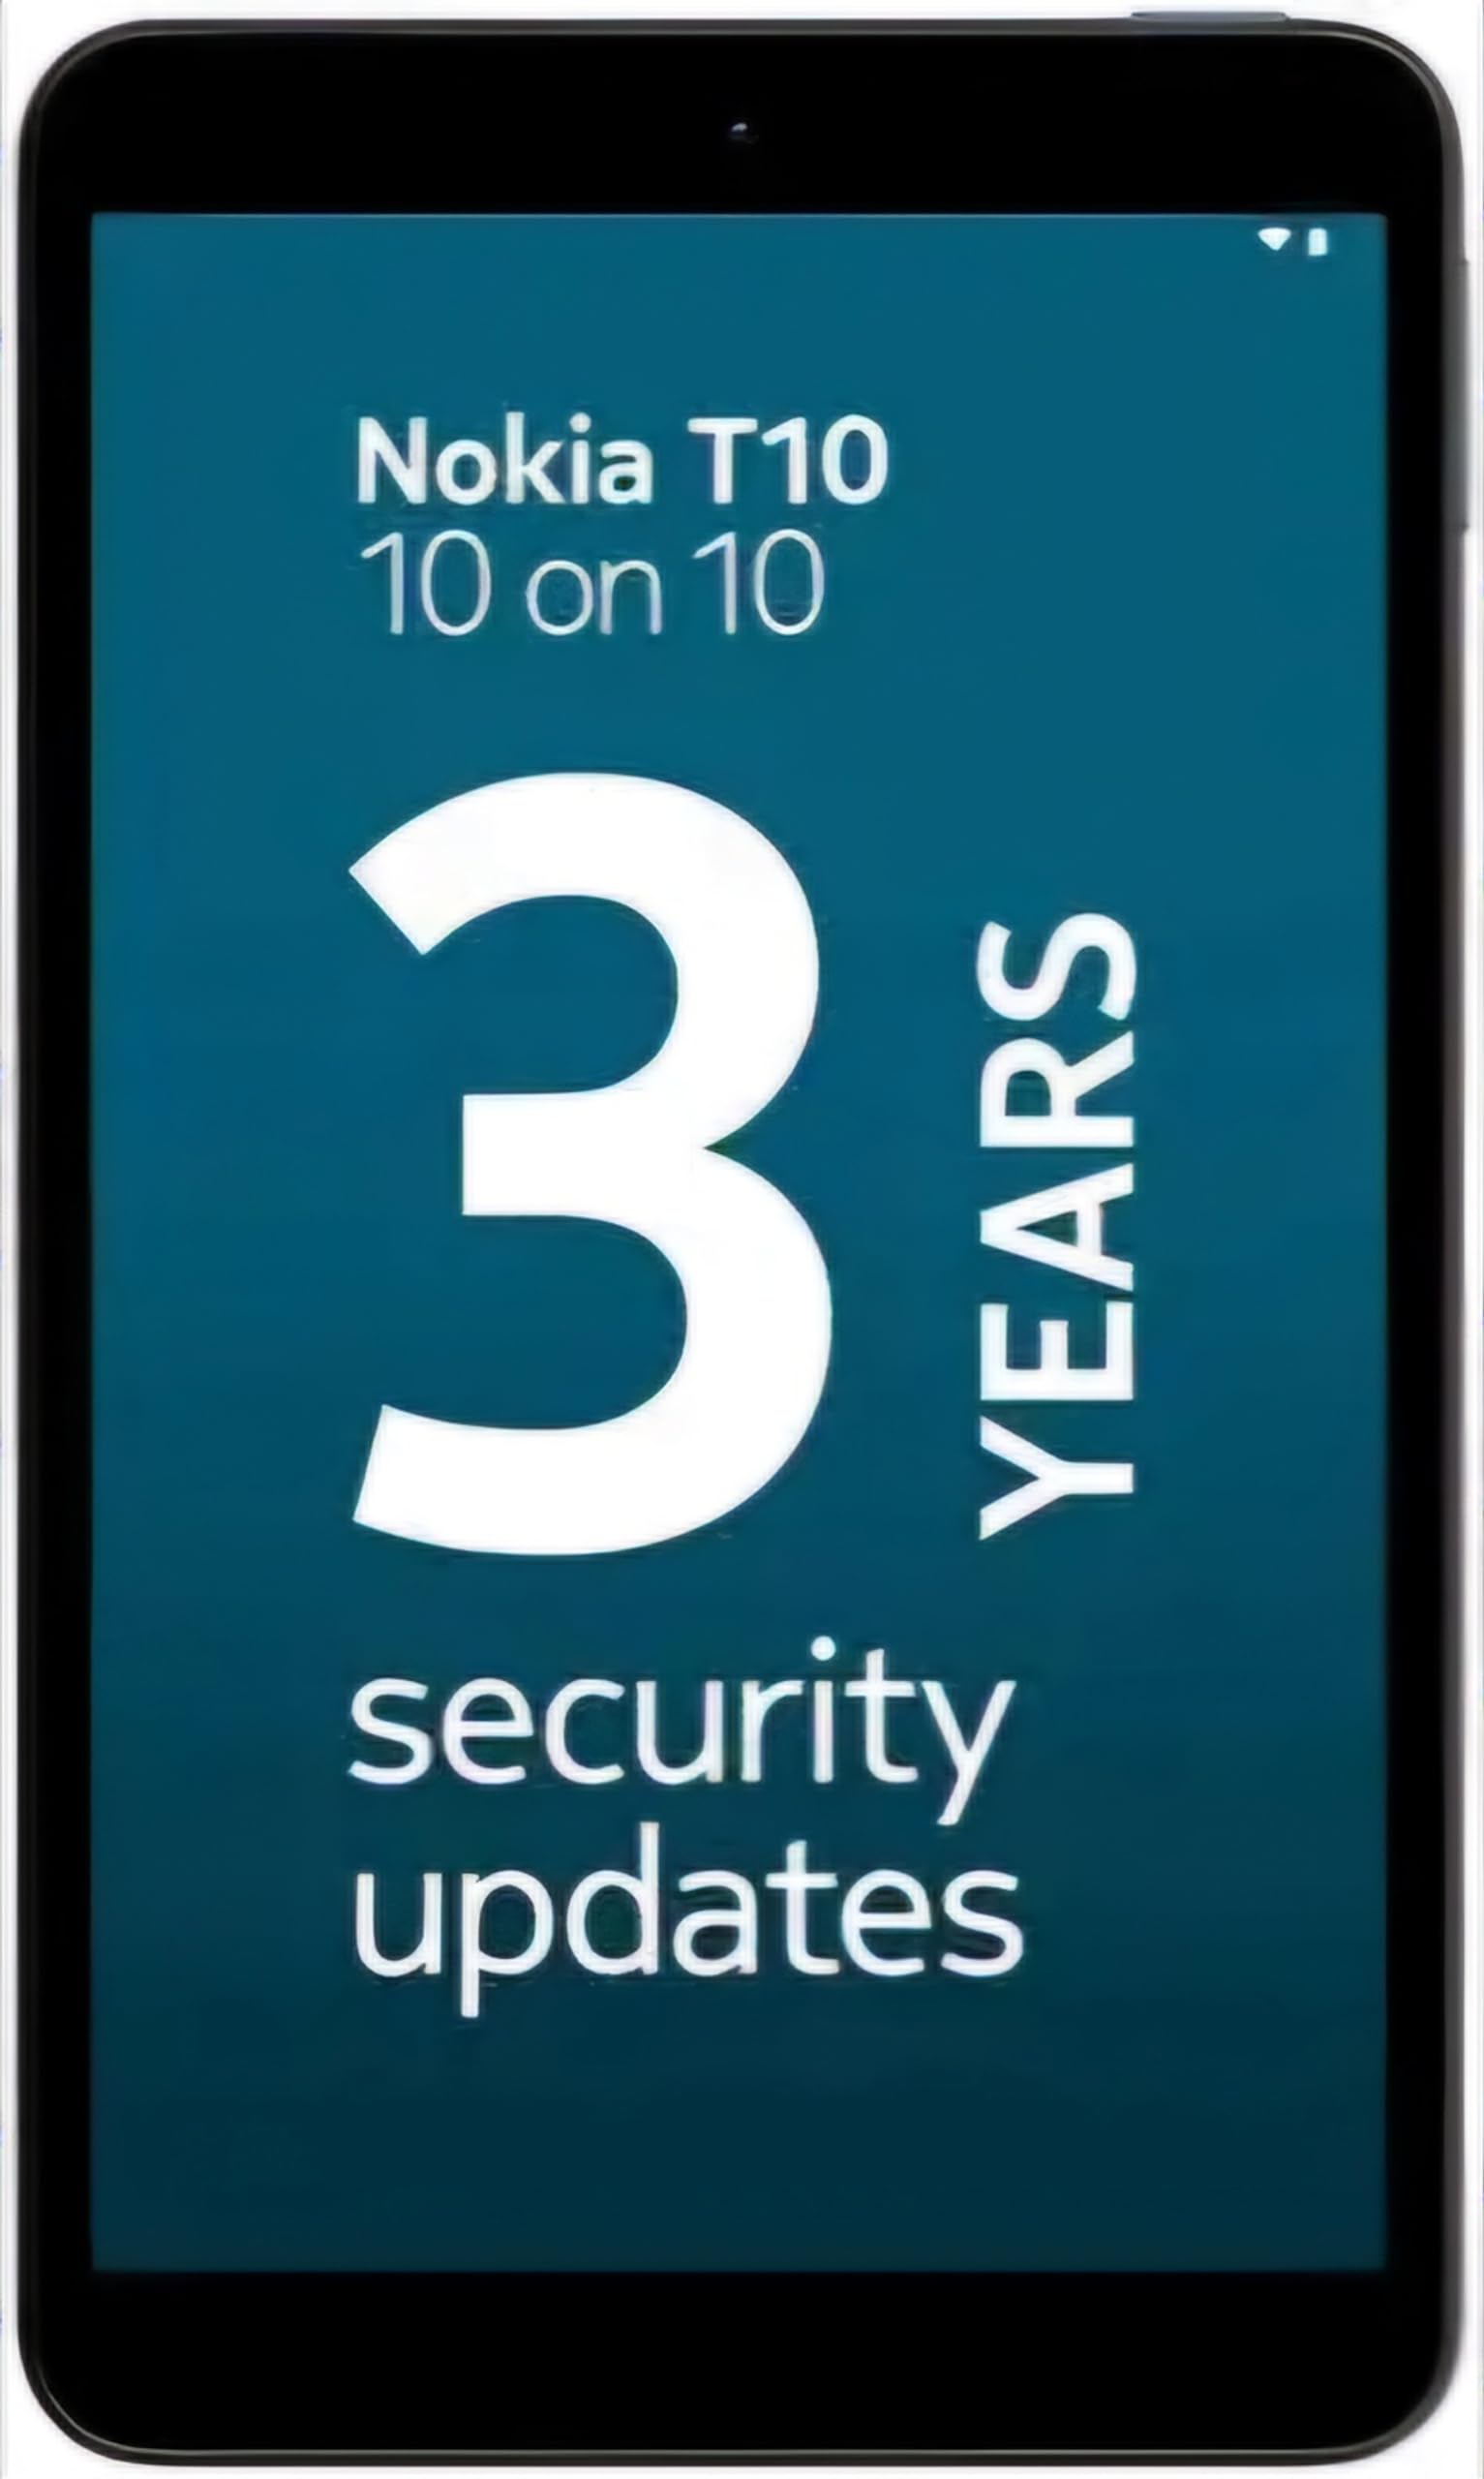
Image: Nokia T10 tablet, showcasing its sleek design and the rear camera module.
4. Əməliyyat Təlimatları
4.1 Ekran və Naviqasiya
The Nokia T10 features an 8-inch HD display (1280x800 pixels). Navigate the interface using touch gestures:
- Klikləyin: Element seçin və ya proqram açın.
- Çalmak: Ekranlarda, siyahılarda və ya məzmunda sürüşdürün.
- Böyütmək üçün Çimdik: Şəkilləri böyüt və ya kiçilt və web səhifələr.
- Uzun Mətbuat: Kontekst menyularına daxil olun və ya tətbiq nişanlarını köçürün.
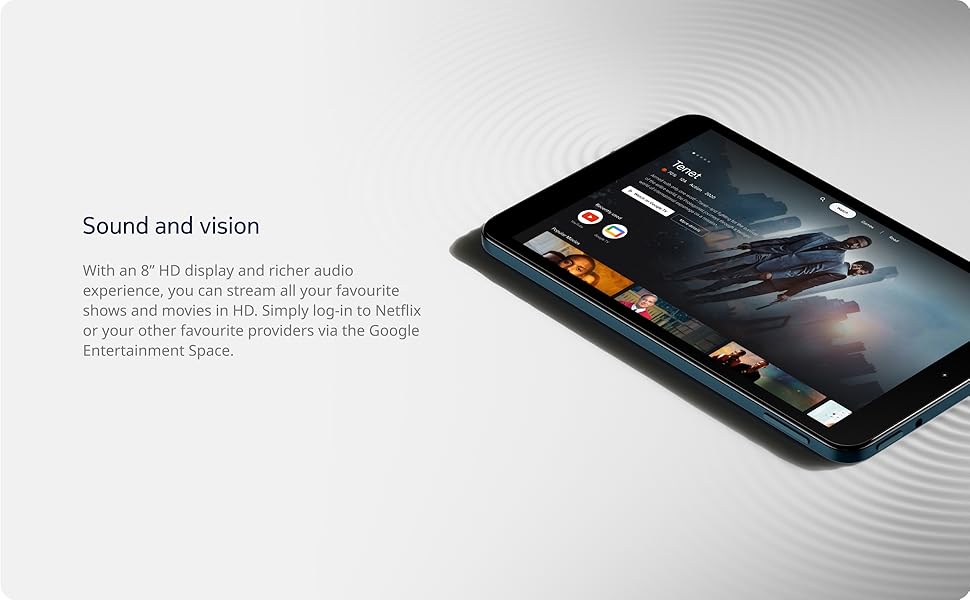
Image: The Nokia T10 tablet showcasing its 8-inch HD display with streaming video content.
4.2 Kamera Funksiyaları
Your tablet is equipped with an 8MP rear camera with autofocus and flash, and a 2MP front camera.
- Foto çəkmək: Kamera tətbiqini açın, kadrınızı çərçivəyə salın və deklanşör düyməsinə vurun.
- Videoların qeyd edilməsi: Switch to video mode in the Camera app and tap the record button to start/stop. The tablet supports FHD 1080p video capture.
- Ön kamera: Tap the camera switch icon to use the front camera for selfies or video calls.

Image: A Nokia T10 tablet displaying a video call, highlighting its front camera functionality.
4.3 Batareyanın idarə edilməsi
The Nokia T10 has a 5250 mAh battery designed for all-day use. To optimize battery life:
- Ekran parlaqlığını azaldın.
- İstifadə etmədiyiniz zaman Wi-Fi və Bluetooth-u söndürün.
- Fon proqramlarını bağlayın.
- Enable battery saver mode in Settings.
4.4 Bağlantı
- Wi-Fi: Connect to wireless networks via Settings > Network & internet > Wi-Fi. The tablet supports 802.11a/b/g/n/ac standards.
- Bluetooth: Pair with Bluetooth devices (headphones, speakers) via Settings > Connected devices > Bluetooth. The tablet features Bluetooth 5.0.
- USB Type-C: Use the USB-C port for charging and data transfer.
4.5 AI Face Unlock
For quick and secure access, set up AI Face Unlock:
- Go to Settings > Security > Face unlock.
- Üzünüzü qeyd etmək üçün ekrandakı təlimatlara əməl edin.
- Ensure you are in a well-lit environment during setup and use.
4.6 Proqram təminatı və yeniləmələr
The Nokia T10 runs on Android 12. Nokia provides 2 years of OS updates and 3 years of monthly security updates to keep your device secure and up-to-date. You will receive notifications when updates are available. It is recommended to install updates over a Wi-Fi connection.
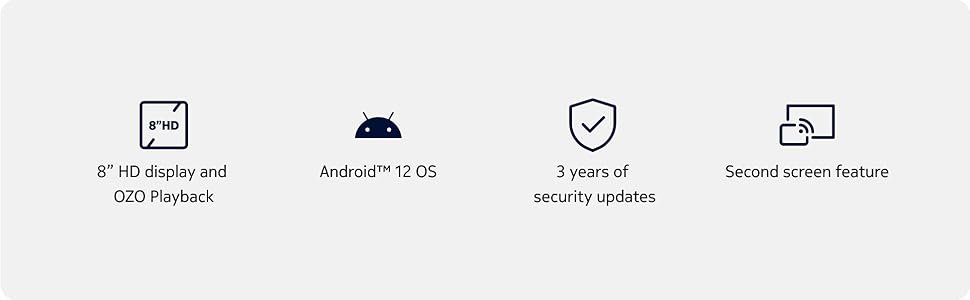
Image: Visual representation of Nokia T10 features including Android 12 OS and 3 years of security updates.
5. Baxım
5.1 Planşetin təmizlənməsi
- Ekranı və bədəni təmizləmək üçün yumşaq, tüysüz parça istifadə edin.
- Sərt kimyəvi maddələrdən, aşındırıcı təmizləyicilərdən və ya aerozol spreylərindən istifadə etməyin.
- Do not expose the tablet to excessive moisture.
5.2 Proqram Yeniləmələri
Regularly check for and install software updates to ensure optimal performance and security. Go to Settings > System > System update.
5.3 Saxlamanın idarə edilməsi
To maintain performance, periodically manage your tablet's storage:
- Delete unnecessary apps and files.
- Böyük hərəkət edin files (photos, videos) to a MicroSD card or cloud storage.
- Clear app cache regularly via Settings > Apps > [App Name] > Storage & cache.
6. Giderme
If you encounter issues with your Nokia T10 tablet, try the following solutions:
| Problem | Həll |
|---|---|
| Planşet işə düşmür | Batareyanın doldurulduğundan əmin olun. Şarj cihazını qoşun və yenidən yandırmağa cəhd etməzdən əvvəl bir neçə dəqiqə gözləyin. |
| Wi-Fi bağlantısı problemləri | Wi-Fi routerinizi yenidən başladın. Parametrlər > Şəbəkə və internet > Wi-Fi bölməsinə keçin, Wi-Fi-ı söndürün və yenidən yandırın. Şəbəkəni unudun və yenidən qoşun. |
| Yavaş performans | Close unused apps. Clear app caches. Restart the tablet. Check for available software updates. |
| Proqramlar çökür və ya donur | Force stop the app (Settings > Apps > [App Name] > Force stop). Clear the app's cache and data. Reinstall the app. |
| Batareya tez tükənir | Reduce screen brightness. Disable unnecessary features like GPS, Bluetooth, and Wi-Fi when not in use. Check battery usage in Settings to identify power-hungry apps. |
If the problem persists after trying these steps, please contact Nokia customer support.
7. Spesifikasiyalar
Below are the key technical specifications for the Nokia T10 Wi-Fi Tablet:
- Model Adı: Nokia T10 TA-1472 WIFI 3/32
- Əməliyyat sistemi: Android 12
- Prosessor: Unisoc T606 (Octa-core, 1.6 GHz)
- Qrafik koprosessor: Mali-G57
- RAM: 3 GB
- Daxili yaddaş: 32 GB
- Genişləndirilə bilən yaddaş: Yes, via MicroSD card (up to 512GB, sold separately)
- Ekran: 8-inch HD (1280 x 800 pixels) TFT, 16:10 aspect ratio
- Arxa Kamera: 8 MP with AF and Flash
- Ön kamera: 2 MP
- Video çəkiliş həlli: FHD 1080p at 30 fps
- Batareya: 5250 mAh Litium Polimer
- Bağlantı: Wi-Fi (802.11a/b/g/n/ac), Bluetooth 5.0, USB Type-C, 3.5mm Audio Jack
- Təhlükəsizlik Xüsusiyyətləri: AI Üz Kilidi
- Audio: Stereo Speakers, OZO Playback
- Dimensions (L x W x Thickness): 20.8L x 12.3W x 0.9Th Centimeters
- Çəki: 375 qram
- Rəng: Mavi
8. Zəmanət Məlumatı
The Nokia T10 tablet comes with a 1 illik istehsalçı zəmanəti for the device and battery from the date of purchase. In-box accessories are covered by a 6 aylıq istehsalçı zəmanəti from the date of purchase. Please retain your proof of purchase for warranty claims. For detailed terms and conditions, refer to the warranty card included in your product packaging or visit the official Nokia support websayt.
9. Dəstək
Əlavə yardım, texniki dəstək və ya xidmət mərkəzləri tapmaq üçün rəsmi Nokia dəstək xidmətinə müraciət edin. website or contact their customer service. You can typically find support contact information on the Nokia website or in the safety booklet provided with your tablet.
Onlayn dəstək: Nokia Dəstəyi Websayt