
1. Giriş
Welcome to the instruction manual for your new Xiaomi Curved Gaming Monitor G34WQi. This guide provides essential information for the safe and optimal setup, operation, and maintenance of your monitor. Please read this manual thoroughly before use to ensure you get the best experience from your device.
The Xiaomi G34WQi features a 34-inch UWQHD (3440x1440) ultrawide curved display with a 1500R curvature, designed to provide an immersive viewing experience. It boasts a high 180Hz refresh rate and a rapid 1ms response time (MPRT) for smooth, fluid gameplay. With FreeSync Premium technology, it minimizes screen tearing and stuttering. The monitor also offers a wide color gamut (95% DCI-P3, 100% sRGB) and a low blue light mode for eye comfort.
2. Quraşdırma
2.1 Paketin məzmunu
Before assembly, please verify that all components are present:
- Xiaomi Curved Gaming Monitor G34WQi
- Monitor Stendi (Əsas və Qol)
- Enerji Adapteri və Kabel
- DisplayPort Kabel
- HDMI Kabel
- İstifadəçi təlimatı
2.2 Stendin yığılması
- Cızıqların qarşısını almaq üçün monitoru yumşaq və təmiz bir səthə diqqətlə üzü aşağı qoyun.
- Attach the stand arm to the back of the monitor using the provided screws. Ensure it is securely fastened.
- Connect the stand base to the arm and tighten the thumb screw at the bottom of the base.
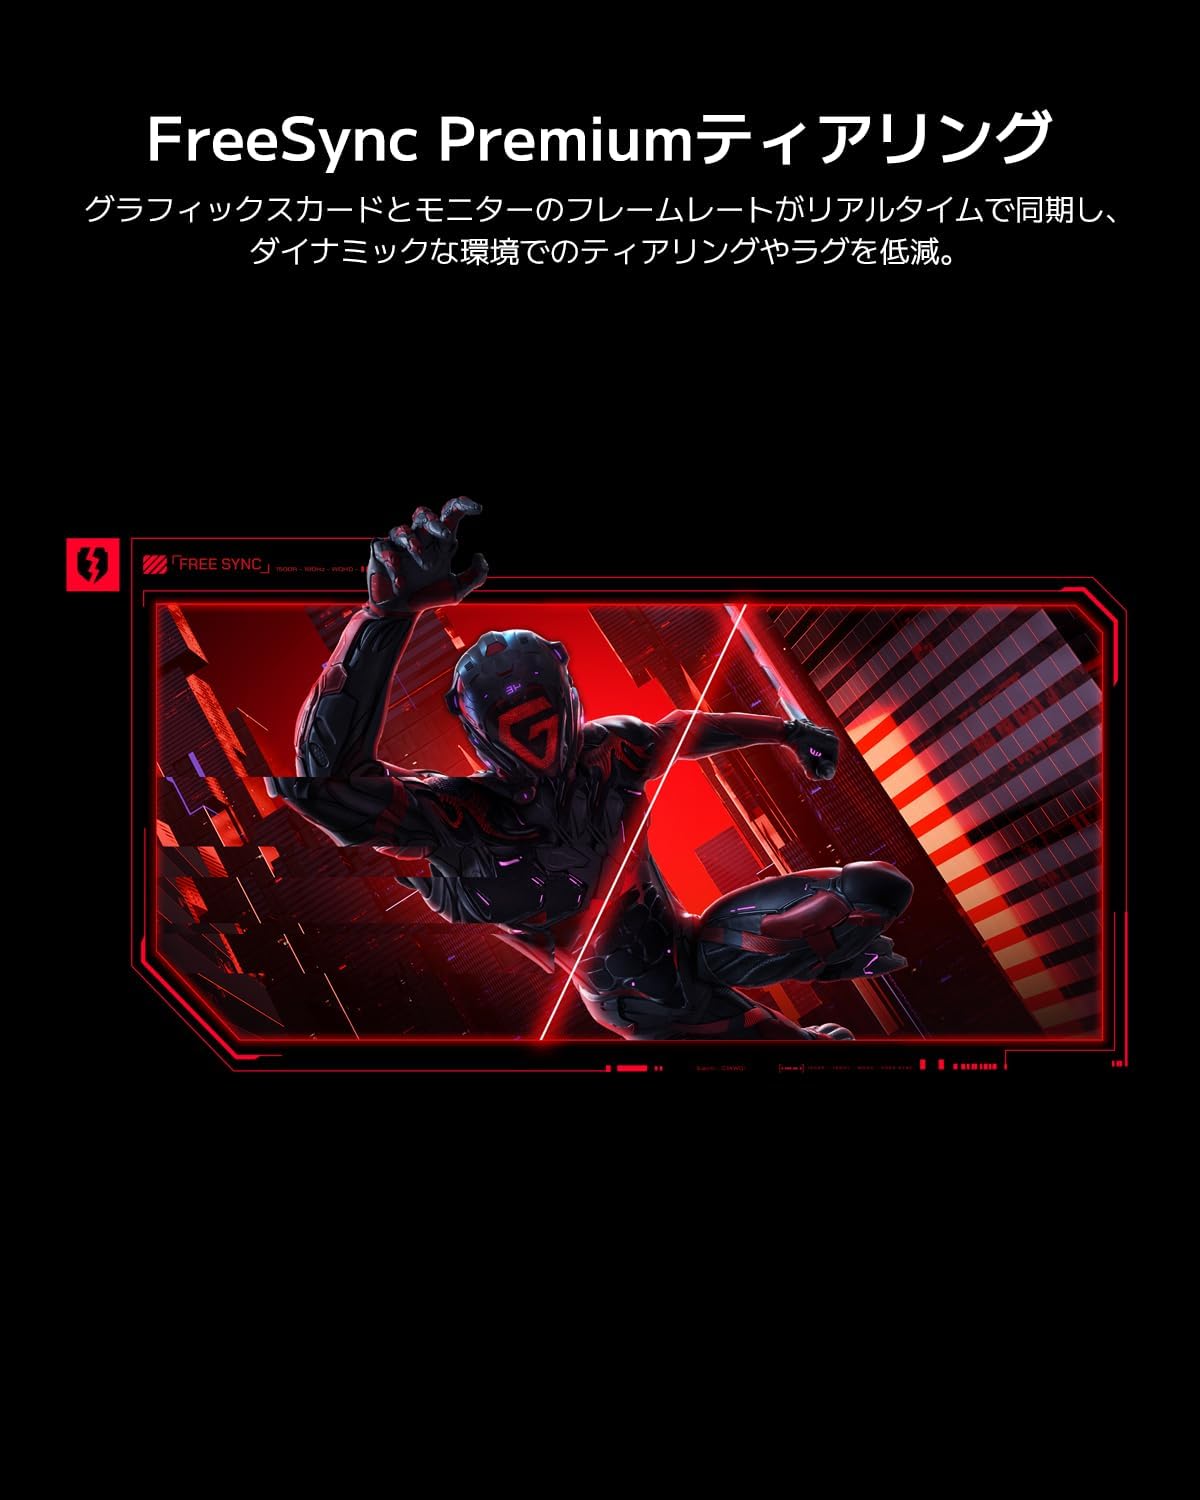
Image: The Xiaomi G34WQi monitor securely mounted on its adjustable stand.
2.3 Qoşulma Kabelləri
Connect the necessary cables to the monitor's rear ports:
- Elektrik kabeli: Güc adapterini monitorun güc girişinə qoşun, sonra güc kabelini divar rozetkasına qoşun.
- DisplayPort (Recommended for Gaming): For optimal performance, including 180Hz refresh rate and FreeSync Premium, connect the DisplayPort cable from your computer's graphics card to the monitor's DisplayPort input.
- HDMI: Alternatively, connect an HDMI cable from your computer to one of the monitor's HDMI inputs. Note that HDMI may have limitations on refresh rate at UWQHD resolution compared to DisplayPort.
- Audio Çıxış: If desired, connect external speakers or headphones to the 3.5mm audio output jack.

Şəkil: arxa view of the monitor highlighting the input ports for connectivity.
2.4 İlkin işə salınma
After connecting all cables, press the power button, usually located on the back or bottom of the monitor, to turn it on. The monitor should automatically detect the input signal. If not, you may need to manually select the input source using the OSD menu.
3. Əməliyyat Təlimatları
3.1 Yandırma/Söndürmə
Press the power button to turn the monitor on or off. A status indicator light will show the monitor's power state.
3.2 Ekranda Ekran (OSD) Menyu
The OSD menu allows you to adjust various monitor settings. It is typically controlled by a joystick or a set of buttons located on the back or bottom of the monitor.
Naviqasiya:
- Press the joystick/center button to open the OSD menu.
- Move the joystick (up/down/left/right) or use the directional buttons to navigate through menu options.
- Press the joystick/center button again to select an option or confirm a setting.
- Move the joystick left or press a dedicated 'Back' button to exit a sub-menu or the OSD.
3.3 Əsas Parametrlər
- Parlaqlıq/Kontrast: Bu parametrləri özünüzə uyğunlaşdırın viewmühit.
- Rəng Parametrləri: Fine-tune color temperature, gamma, and saturation. The monitor supports 95% DCI-P3 and 100% sRGB for accurate color reproduction.
- Yeniləmə dərəcəsi: Ensure your refresh rate is set to 180Hz in both the monitor's OSD and your computer's display settings for the smoothest experience.
- Cavab vaxtı: The monitor offers a 1ms MPRT (Moving Picture Response Time). This can often be adjusted in the OSD, sometimes referred to as 'Overdrive' or 'Response Speed'.
- FreeSync Premium: Enable FreeSync Premium in the OSD menu and in your AMD graphics card settings to synchronize the monitor's refresh rate with your GPU's frame rate, eliminating screen tearing and stuttering.

Image: Visual representation of FreeSync Premium preventing screen tearing.
- Aşağı Mavi İşıq rejimi: Activate this mode to reduce blue light emissions, which can help reduce eye strain during prolonged use.

Image: The monitor displaying content with low blue light mode enabled for eye protection.
4. Baxım
4.1 Ekranın təmizlənməsi
Ekranı təmizləmək üçün onu yumşaq, tüysüz parça ilə yumşaq bir şəkildə silin. İnadkar izlər üçün yüngülcə dampparçanı su və ya xüsusi ekran təmizləyicisi ilə örtün. Heç vaxt mayeni birbaşa ekrana səpməyin.
4.2 Cleaning the Monitor Body
Use a soft, dry cloth to wipe the monitor's body. Avoid using abrasive cleaners or solvents, as they can damage the surface.
4.3 Ümumi qulluq
- Monitorun və ya onun kabellərinin üzərinə ağır əşyalar qoymaqdan çəkinin.
- Monitoru birbaşa günəş işığından, istilik mənbələrindən və həddindən artıq nəmdən uzaq tutun.
- Həddindən artıq istiləşmənin qarşısını almaq üçün monitorun ətrafında düzgün havalandırma təmin edin.
5. Giderme
Monitorunuzla bağlı problemlərlə qarşılaşsanız, aşağıdakı ümumi problemlərə və həll yollarına müraciət edin:
5.1 Enerji yoxdur / Ekran yoxdur
- Elektrik kabelinin həm monitora, həm də elektrik rozetkasına etibarlı şəkildə qoşulduğunu yoxlayın.
- Verify that the power adapter is functioning correctly.
- Press the power button on the monitor to ensure it is turned on.
5.2 Siqnal yoxdur
- Ensure the video cable (DisplayPort or HDMI) is securely connected to both the monitor and your computer's graphics card.
- Kompüterinizin işə salındığını və yuxu rejimində olmadığını yoxlayın.
- Use the OSD menu to manually select the correct input source (e.g., DisplayPort 1, HDMI 1).
- Try a different video cable or port on your graphics card/monitor to rule out a faulty connection.
5.3 Flickering or Tearing Screen
- Ensure FreeSync Premium is enabled in both the monitor's OSD and your graphics card settings.
- Verify that your graphics card drivers are up to date.
- Check the video cable. Some users have reported better stability with DisplayPort cables for high resolutions and refresh rates compared to HDMI.
- If using multiple monitors, ensure your system can handle the combined load, as some configurations might cause instability.
5.4 Incorrect Resolution or Refresh Rate
- Go to your computer's display settings (e.g., Windows Display Settings, NVIDIA Control Panel, AMD Radeon Software) and set the resolution to 3440x1440 and the refresh rate to 180Hz.
- Ensure you are using a DisplayPort cable, as some HDMI versions may not support UWQHD at 180Hz.
5.5 Image Reflection
- The monitor has a non-glare (VA) panel, but reflections can still occur in brightly lit environments. Adjust the monitor's position or room lighting to minimize reflections.
6. Spesifikasiyalar
| Xüsusiyyət | Spesifikasiya |
|---|---|
| Brend | Xiaomi |
| Model nömrəsi | G34WQi |
| Ekran Ölçüsü | 34 düym |
| Qətnamə | UWQHD (3440 x 1440 pixels) |
| Aspekt nisbəti | 21:9 |
| Əyrilik | 1500R |
| Panel növü | VA (Non-glare) |
| Yeniləmə dərəcəsi | 180 Hz |
| Cavab vaxtı | 1 ms (MPRT) |
| Rəng Gamutu | 95% DCI-P3, 100% sRGB |
| Bağlantı | HDMI, DisplayPort, 3.5mm Audio Out |
| Güc Cildtage | 12 volt |
| Məhsulun Ölçüləri (D x G x Y) | 99.1 x 18.8 x 46 sm (təxminən) |
| Məhsul Çəkisi | 6.9 kq |
| Montaj növü | Divara bərkidici (VESA ilə uyğun) |
7. Zəmanət Məlumatı
This Xiaomi Curved Gaming Monitor G34WQi comes with a 1 illik istehsalçı zəmanəti. Please retain your proof of purchase for warranty claims. For detailed terms and conditions, refer to the warranty card included in your product packaging or visit the official Xiaomi support websayt.
8. Dəstək
For further assistance, technical support, or service inquiries, please contact Xiaomi customer service:
- Telefon dəstəyi: 0120-767-378 (Reception hours: 9:00-18:00, excluding year-end and New Year holidays)
- E-poçt Dəstəyi: service.jp@support.mi.com
You can also visit a Xiaomi Service Center for in-person support:
Xiaomi Service Center Akihabara Store
Address: 4-6-7 Kanda Sakumacho, Chiyoda-ku, Tokyo
Business Hours: 10:00-19:00
Closed: Wednesdays
(Last reception is at 18:00)

Image: A collection of Xiaomi products, showcasing the brand's commitment to smart living.