
1. Giriş
This manual provides detailed instructions for the installation, operation, and maintenance of your ELUSH 60Amp MPPT Solar Charge Controller. This device is designed to efficiently manage power from your solar panels to charge various battery types, including LiFePO4, AGM, and Gel batteries, in 12V, 24V, and 48V systems.
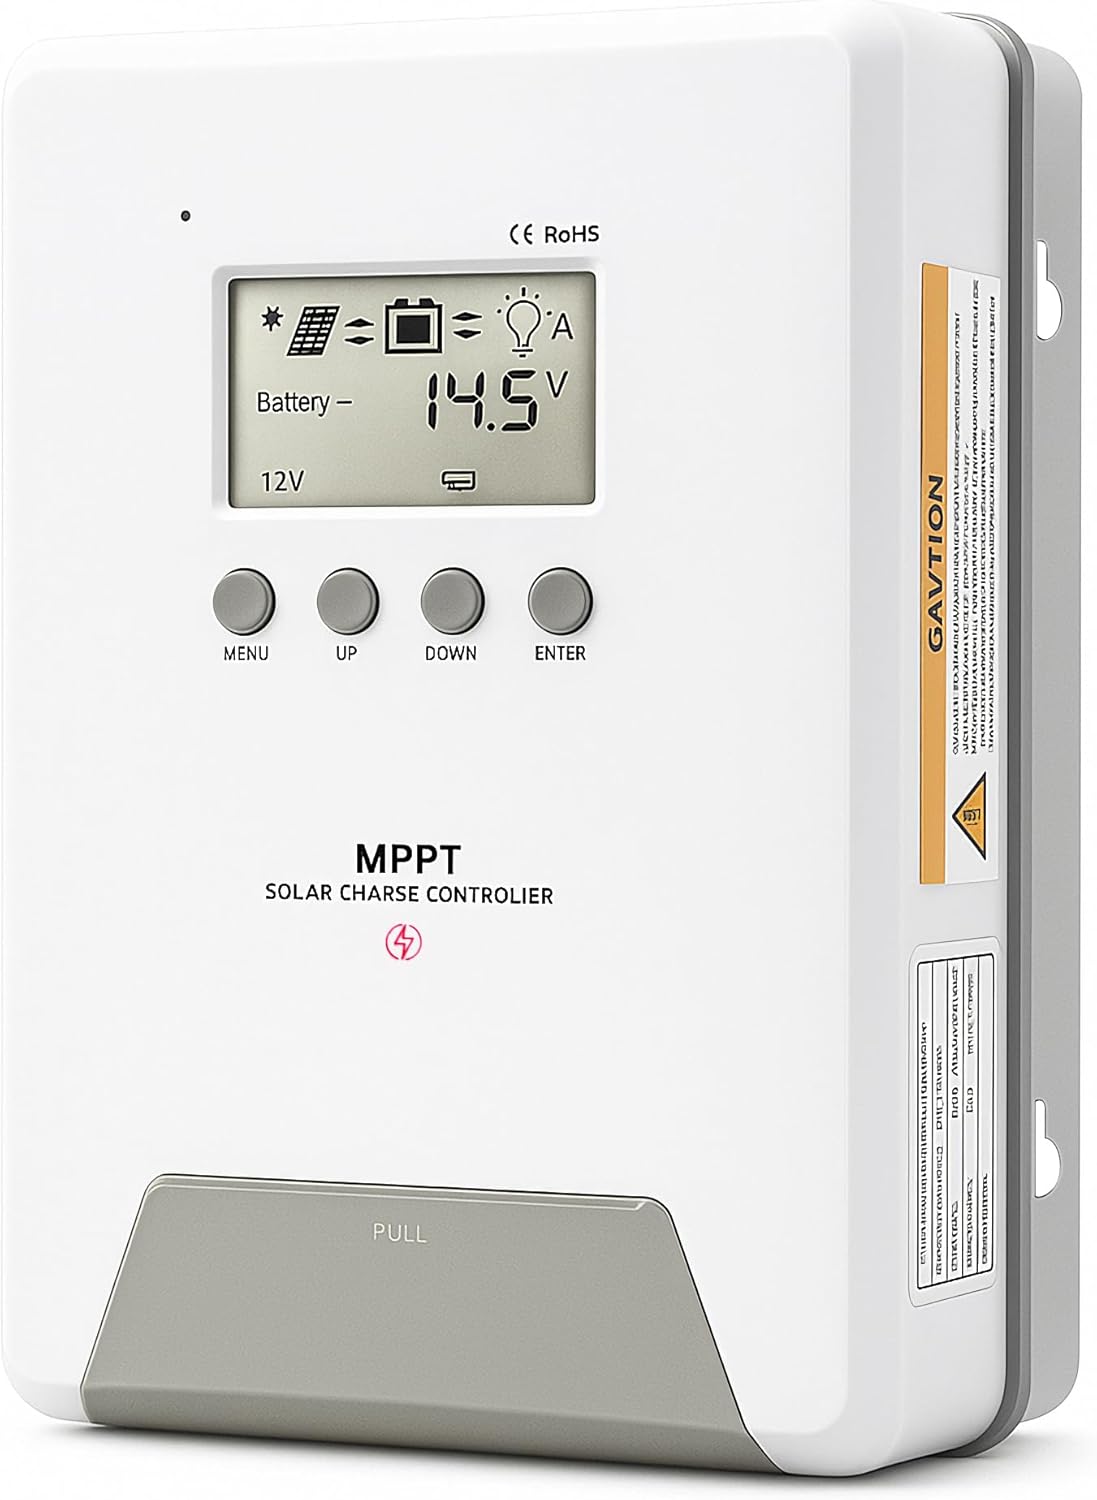
Image 1.1: ELUSH 60Amp MPPT Solar Charge Controller.
2. Əsas Xüsusiyyətlər
- Qabaqcıl MPPT Texnologiyası: Maximizes energy harvest from solar panels with tracking efficiency no less than 99% and peak conversion efficiency up to 98%.
- System Auto-Detection: Automatically detects 12V, 24V, and 48V DC system voltages upon startup.
- Geniş Batareya Uyğunluğu: Supports Sealed (AGM), Gel, Flooded lead-acid batteries, and Lithium batteries (LiFePO4, Ternary Lithium/Li-ion).
- Təmiz LCD displey: Provides real-time monitoring of PV voltage, batareyanın həcmitage/current, charging power, accumulated energy generation, and load status.
- Essential Built-in Protections: Includes safeguards against overvoltage, həddindən artıq cərəyan, aşağı voltage, and high temperature.
- Effektiv istilik yayılması: Features a high-quality aluminum heatsink for stable operation and optimal performance.

Image 2.1: MPPT Technology highlighting 99% tracking efficiency and 98% peak conversion efficiency.
3. Safety Information and System Protection
The ELUSH MPPT Solar Charge Controller is equipped with multiple protection features to ensure safe and reliable operation of your solar power system. Always adhere to local electrical codes and safety guidelines during installation and operation.
- Over-discharging Protection: Prevents batteries from being discharged below a safe voltage səviyyə.
- Həddindən artıq yükdən qorunma: Safeguards against excessive current draw from the load terminals.
- Short-circuiting Protection: Protects against short circuits in the solar panel, battery, or load circuits.
- Ters Polarite qorunması: Prevents damage from incorrect battery or solar panel connections.
- Həddindən artıq yükləmədən qorunma: Ensures batteries are not overcharged, extending their lifespan.
- Temperatur kompensasiyası: Adjusts charging parameters based on battery temperature for optimal charging.
- Reverse Current Protection: Prevents current from flowing back from the battery to the solar panel at night.

Image 3.1: Visual representation of the controller's system protection features.
4. Quraşdırma və naqillər
Proper installation is crucial for the safe and efficient operation of your solar charge controller. Follow these steps carefully.
4.1 Connection Sequence
Always connect components in the following order to prevent damage:
- Batareyanı birləşdirin: Connect the battery to the controller's battery terminals. Ensure correct polarity (+ to + and - to -). The battery terminals should be installed with safety fuses. Ensure the distance does not exceed 150mm.
- Yükü birləşdirin: Connect your DC loads to the controller's load terminals.
- Connect the solar panel: Connect the solar panel to the controller's solar energy terminals. Ensure correct polarity.
- Power on the controller: The controller will automatically power on once all connections are secure.
Qeyd: If you want to connect an inverter, connect it directly to the battery, not to the load terminal of the controller.

Image 4.1: Diagram showing the connection points for solar energy, battery, and load.

Image 4.2: Step-by-step visual guide for connecting the system components.
4.2 Hidden Installation Wiring
For a clean and secure installation, the wiring can be routed and hidden. After all connections are properly made and tested, tighten the screws on the terminals and close the bottom cover of the controller to complete the installation. This protects the wiring and provides a neat appearance.
5. Əməliyyat Təlimatları
The controller features an intuitive LCD display and buttons for monitoring and configuration.
5.1 LCD Ekran və Düymələr
The LCD screen provides real-time information about your system. The buttons allow you to navigate menus and adjust settings.
- Temperatur Sensoru: Located on the controller, it measures ambient temperature for accurate charging compensation.
- LCD displey: Shows PV voltage, batareyanın həcmitage, charging current, load status, and other system parameters.
- MENU düyməsi: Used to enter and exit menu settings.
- YUKARI Düyməsi: Navigates upwards through menu options or increases values.
- AŞAĞI Düyməsi: Navigates downwards through menu options or decreases values.
- GİR düyməsi: Seçimləri təsdiqləyir və ya alt menyulara daxil olur.
Image 5.1: The controller's LCD display and button layout for user interaction.
5.2 Avtomatik Cildtage Recognition and Battery Compatibility
The controller automatically detects the system voltage (12V, 24V, or 48V) upon startup. It is compatible with a wide range of battery types, ensuring efficient and safe charging for your specific setup.
- Lithium-ion batteries (Li): For standard lithium-ion chemistries.
- Lithium Iron Phosphate batteries (LiFePO4): Specifically designed for LiFePO4 batteries.
- Lead-acid batteries (BAT): Includes Sealed (AGM), Gel, and Flooded types.

Image 5.2: Illustration of automatic voltage recognition and compatibility with various battery types.
6. Spesifikasiyalar
| Brend | ELUSH |
| Model nömrəsi | DM60A |
| Cari Reytinq | 60A |
| Sistem Cildtage | 12V/24V/48V Auto Detection |
| Maks. PV Giriş Həcmitage | 150V |
| Material | Alüminium |
| Ekran növü | LCD |
| Rəng | Qara |
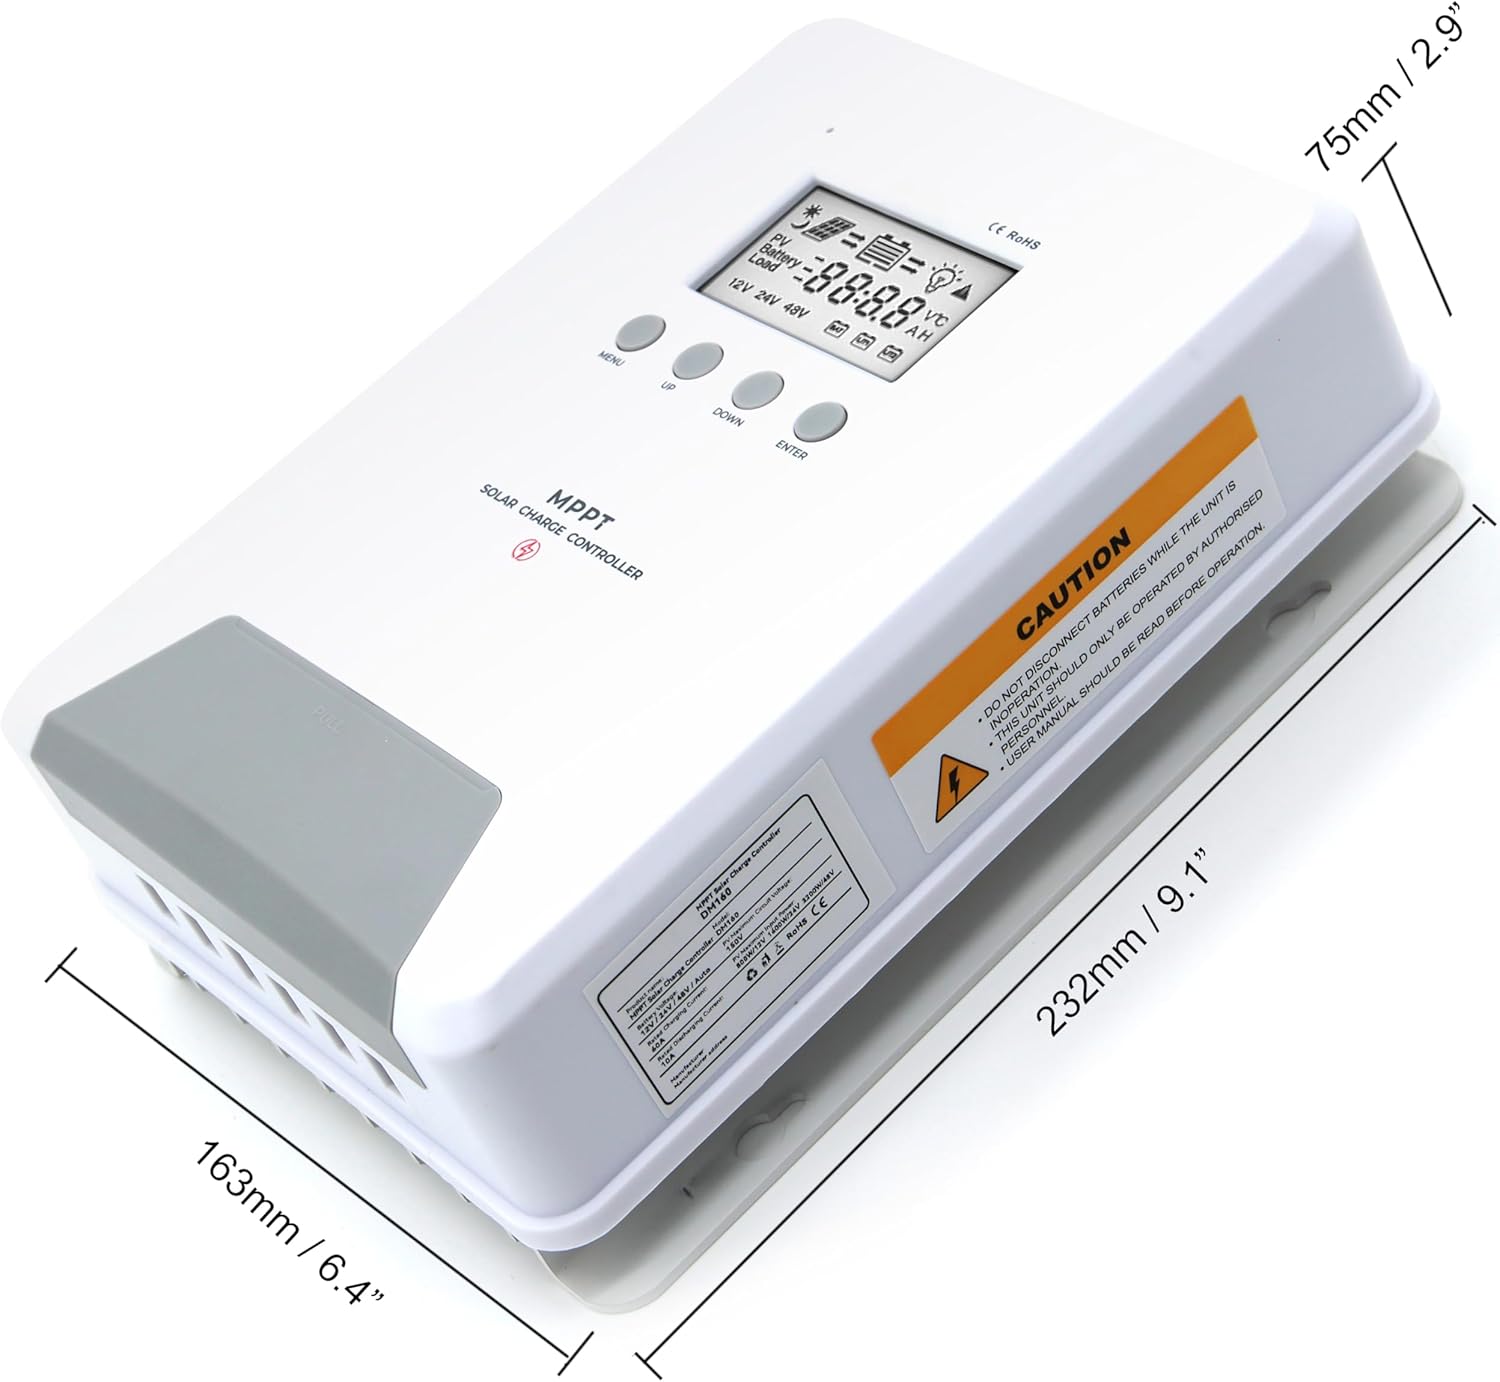
Image 6.1: Physical dimensions of the ELUSH 60Amp MPPT Solar Charge Controller.
7. Baxım
To ensure optimal performance and longevity of your solar charge controller, regular maintenance is recommended:
- Bağlantıları yoxlayın: Periodically check all wiring connections for tightness and corrosion. Loose connections can cause overheating and damage.
- Clean the Controller: Keep the controller clean and free from dust and debris. Use a dry cloth to wipe the exterior. Ensure ventilation openings are not blocked.
- Monitor Performansı: Regularly check the LCD display for normal operating parameters. Note any unusual readings or error codes.
- Batareya Sağlamlığı: Ensure your batteries are well-maintained according to their manufacturer's guidelines.
8. Giderme
If you encounter issues with your ELUSH MPPT Solar Charge Controller, refer to the following basic troubleshooting steps:
- Ekran yoxdur/Güc yoxdur: Check battery connections and ensure the battery voltage is within the controller's operating range. Verify fuses are intact.
- Batareya doldurulmur: Confirm solar panel connections and polarity. Check for sufficient sunlight and ensure solar panel voltage is above the battery voltage. Verify battery type settings are correct.
- Yükləmə İşləmir: Check load connections and ensure the load current does not exceed the controller's rating. Verify load output settings on the controller.
- Səhv kodları: If the LCD displays an error code, consult the full product manual (if available) or contact technical support for specific guidance.
- Həddindən artıq istiləşmə: Ensure the controller is installed in a well-ventilated area, away from direct sunlight or heat sources. Check for any obstructions to the heatsink.
9. Zəmanət və Dəstək
ELUSH provides professional technical support for its products. If you have any questions, require assistance with installation, operation, or troubleshooting, please feel free to contact us. Refer to your purchase documentation for specific warranty terms and contact information.