Giriş
This manual provides detailed instructions for the installation, operation, and maintenance of your DB DRIVE A3 2250.5 Okur Series A3 Class AB 1000 Watt 5-Channel Ampqaldırıcı. Düzgün istifadəni təmin etmək və cihazın və ya avtomobilinizin audio sisteminə zərər verməmək üçün quraşdırmadan və ya istismardan keçirməzdən əvvəl bu təlimatı diqqətlə oxuyun.
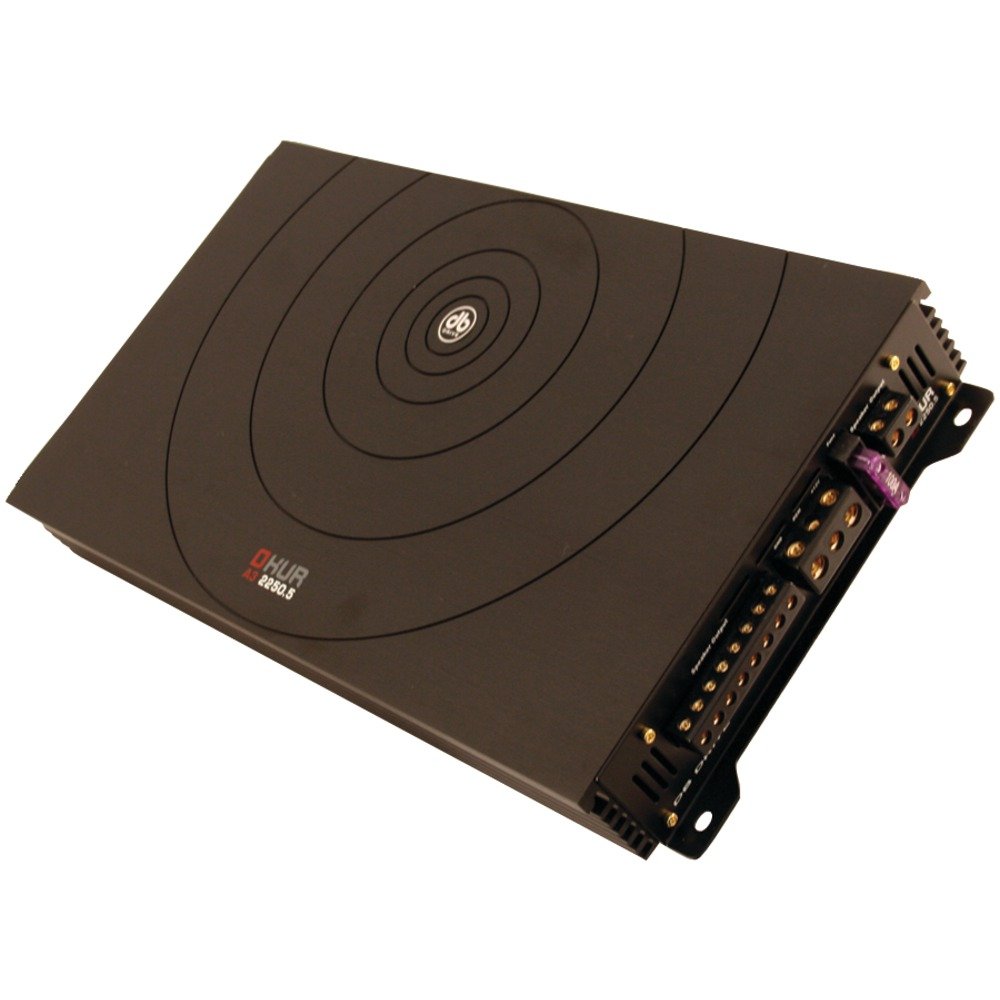
Image: DB DRIVE A3 2250.5 Okur Series A3 Class AB 1000 Watt 5-Channel Ampqaldırıcı. Bu şəkil göstərir amplifier's top view, highlighting its compact design and branding.
Təhlükəsizlik Məlumatı
Yaralanma və ya zədələnmənin qarşısını almaq üçün həmişə aşağıdakı təhlükəsizlik tədbirlərinə əməl edin:
- Hər hansı bir elektrik bağlantısı qurmazdan əvvəl avtomobilin batareyasının mənfi terminalını ayırın.
- Sıxılma və ya qısaqapanmaların qarşısını almaq üçün bütün naqillərin düzgün şəkildə yerləşdirildiyindən və bərkidildiyindən əmin olun.
- Quraşdırma bölməsində göstərildiyi kimi, elektrik və torpaqlama birləşmələri üçün müvafiq ölçü naqillərindən istifadə edin.
- quraşdırın ampQaldırıcını həddindən artıq istiliyin qarşısını almaq üçün kifayət qədər ventilyasiyaya imkan verən yerdə saxlayın.
- Proqramı quraşdırmaqdan çəkinin ampnəmə və ya həddindən artıq titrəməyə məruz qalan ərazilərdə qaldırıcı.
- Quraşdırma prosesinin hər hansı bir hissəsinə əmin deyilsinizsə, peşəkar avtomobil audio quraşdırıcısı ilə məsləhətləşin.
Quraşdırma və Quraşdırma
1. Qabın açılması və yoxlanılması
Diqqətlə çıxarın amplifier from its packaging. Inspect the unit for any signs of damage that may have occurred during shipping. Contact your dealer immediately if any damage is found.
2. Montaj Ampömürlük
Choose a mounting location that is dry, well-ventilated, and secure. Common locations include under a seat, in the trunk, or behind a panel. Ensure there is sufficient airflow around the amplifier's heatsink.
- Mark the mounting holes using the amplifier as a template.
- Drill pilot holes if necessary, being careful not to damage any vehicle components.
- Təhlükəsiz edin ampverilmiş montaj vintlərindən istifadə edərək qaldırıcını.
3. Naqil birləşmələri
Proper wiring is crucial for performance and safety. Refer to the following guidelines:
- Power (BATT+): Connect a heavy-gauge wire (e.g., 4 AWG or 8 AWG depending on total power) directly from the positive terminal of the vehicle's battery. Install an inline fuse holder within 18 inches (45 cm) of the battery.
- Yer (GND): Connect a heavy-gauge wire of the same size as the power wire to a clean, unpainted metal surface of the vehicle's chassis. Ensure a solid, low-resistance connection.
- Uzaqdan (REM): Connect a smaller gauge wire (e.g., 18 AWG) from the amplifier's remote terminal to the remote output of your head unit. This turns the amplifier on and off with the head unit.
- RCA Girişləri: Connect RCA cables from your head unit's pre-amp üçün çıxışlar amplifier's RCA input jacks. Ensure correct channel matching (Front L/R, Rear L/R, Sub).
- Dinamik Çıxışları: Connect speaker wires from the amplifier's speaker terminals to your speakers. Observe correct polarity (+ to + and - to -). This is a 5-channel amplifier, typically 4 channels for full-range speakers and 1 channel for a subwoofer.
4. Gain, Crossover, and Bass Boost Settings
These settings allow you to fine-tune the amplifier's output to match your audio system and preferences.
- Nəzarət qazanın: Adjust the gain to match the output voltage of your head unit. Start with the gain at minimum, then slowly increase it until you hear distortion, then back off slightly. This is not a volume control.
- Crossover (LPF/HPF):
- Aşağı Keçid Filtri (LPF): For the subwoofer channel, set the LPF to allow only low frequencies to pass (e.g., 80-120 Hz).
- Yüksək keçid filtri (HPF): For the full-range channels, set the HPF to block low frequencies from reaching your main speakers (e.g., 80-100 Hz) to prevent distortion and improve sound clarity.
- Bass Boost: Use the bass boost sparingly. Excessive bass boost can lead to distortion and speaker damage. Adjust to taste, ensuring sound remains clear.
Əməliyyat Təlimatları
Once installed and configured, the amplifier will power on automatically with your head unit via the remote turn-on wire. Adjust volume and tone controls primarily from your head unit. The amplifier's settings (gain, crossover) are set during installation and generally do not require frequent adjustment.
Baxım
The DB DRIVE A3 2250.5 amplifier requires minimal maintenance.
- Təmizləmə: vaxtaşırı silin ampTozu təmizləmək üçün qaldırıcının xarici hissəsini yumşaq, quru bir parça ilə silin. Sərt kimyəvi maddələr və ya aşındırıcı təmizləyicilərdən istifadə etməyin.
- Yoxlama: Occasionally check all wiring connections to ensure they are secure and free from corrosion. Ensure the amplifier's ventilation fins are not obstructed.
Problemlərin aradan qaldırılması
Əgər sizinlə problem yaşayırsınızsa ampliifier üçün aşağıdakı ümumi problemlərə və həll yollarına baxın:
| Problem | Mümkün Səbəb | Həll |
|---|---|---|
| Güc yoxdur / Ampqaldırıcı açılmır |
|
|
| Səs Çıxışı Yoxdur |
|
|
| Təhrif edilmiş səs |
|
|
| AmpLifterin Həddindən Artıq İsitməsi (Qoruma Rejimi) |
|
|
Spesifikasiyalar
| Xüsusiyyət | Detal |
|---|---|
| Model nömrəsi | A3 2250.5 |
| Maksimum Güc Çıxışı | 1000 Vt |
| Kanallar | 5-Channel (4 stereo, 1 mono for subwoofer) |
| Amplifier sinfi | AB sinfi |
| Komponentlər | Audiophile Grade |
| Ölçülər (U x G x Y) | 53.59 x 30.48 x 10.92 sm |
| Çəki | 6.53 kq |
| İstilik İdarəetmə | DRIVESINK (Okur Series A3 feature) |
Zəmanət və Dəstək
DB Drive products are designed for reliability and performance. This product is covered by a limited warranty. Please refer to the warranty card included with your product or visit the official DB Drive webətraflı zəmanət şərtləri üçün sayt.
For technical support, service, or warranty claims, please contact your authorized DB Drive dealer or visit the DB Drive official webəlaqə məlumatı və dəstək resursları üçün sayt.


