1. Giriş
Thank you for choosing the NEDIS Automatic Lead Acid Battery Charger, model BACCH02. This charger is designed for safe and efficient charging and maintenance of 2V, 6V, and 12V lead-acid batteries. Please read this manual thoroughly before use to ensure proper operation and to prevent damage to the charger or battery.
2. Təhlükəsizlik Təlimatları
Always observe the following safety precautions when using the battery charger:
- This charger is for indoor use only. Do not expose to rain or moisture.
- Uşaqların əli çatmayan yerdə saxlayın.
- Qaz yığılmasının qarşısını almaq üçün doldurma zamanı adekvat ventilyasiya təmin edin.
- Avoid sparks, flames, or smoking near the battery during charging. Batteries can produce explosive gases.
- Batareyalar ilə işləyərkən göz qoruyucu və qoruyucu paltar geyinin.
- Always disconnect the AC power supply before connecting or disconnecting the battery clamps.
- Qırmızı (+) cl-ni birləşdirinamp müsbət batareya terminalına və qara (-) cl-əamp mənfi batareya terminalına.
- Do not attempt to charge frozen, damaged, or non-rechargeable batteries.
- Şarj cihazını açmayın casing. Bütün xidmətlər üçün ixtisaslı işçilərə müraciət edin.
- Təchizat kabeli zədələnibsə, təhlükənin qarşısını almaq üçün istehsalçı, onun xidmət agenti və ya oxşar ixtisaslı şəxslər tərəfindən dəyişdirilməlidir.
3. Məhsul bitdiview
The NEDIS BACCH02 is a compact and automatic battery charger. It features a main unit with LED indicators and a voltage selection switch, connected to an AC power cable and DC output cables with battery clamps.

Image: The main unit of the NEDIS BACCH02 charger, showing the LED indicators for polarity and charge status, and the voltage seçim açarı.
Komponentlər:
- Charger Unit: Main body containing the electronics.
- Cildtage Seçim açarı: Allows selection between 2V, 6V, and 12V charging modes.
- Polarity LED (Red): Indicates incorrect battery connection.
- Charge LED (Green): Indicates charging status (blinking for charging, solid for fully charged).
- Batareya Clamps: Red (+) and Black (-) for connecting to the battery terminals.
- AC enerji kabeli: Divar rozetkasına qoşulmaq üçün.
4. Quraşdırma
Batareya şarj cihazınızı qurmaq üçün bu addımları yerinə yetirin:
- Ensure Charger is Unplugged: Before making any connections, ensure the charger's AC power cable is disconnected from the wall outlet.
- Identify Battery Voltage: Həcmi müəyyənləşdirintage of the battery you intend to charge (2V, 6V, or 12V).
- Select Correct Voltage: Cilddən istifadə edintage selection switch on the charger unit to set the appropriate voltage (2V, 6V, or 12V) for your battery.
- Batareyanı birləşdirinamps:
- birləşdirin qırmızı (+) batareya clamp batareyanın müsbət (+) terminalına.
- birləşdirin qara (-) batareya clamp batareyanın mənfi (-) terminalına.
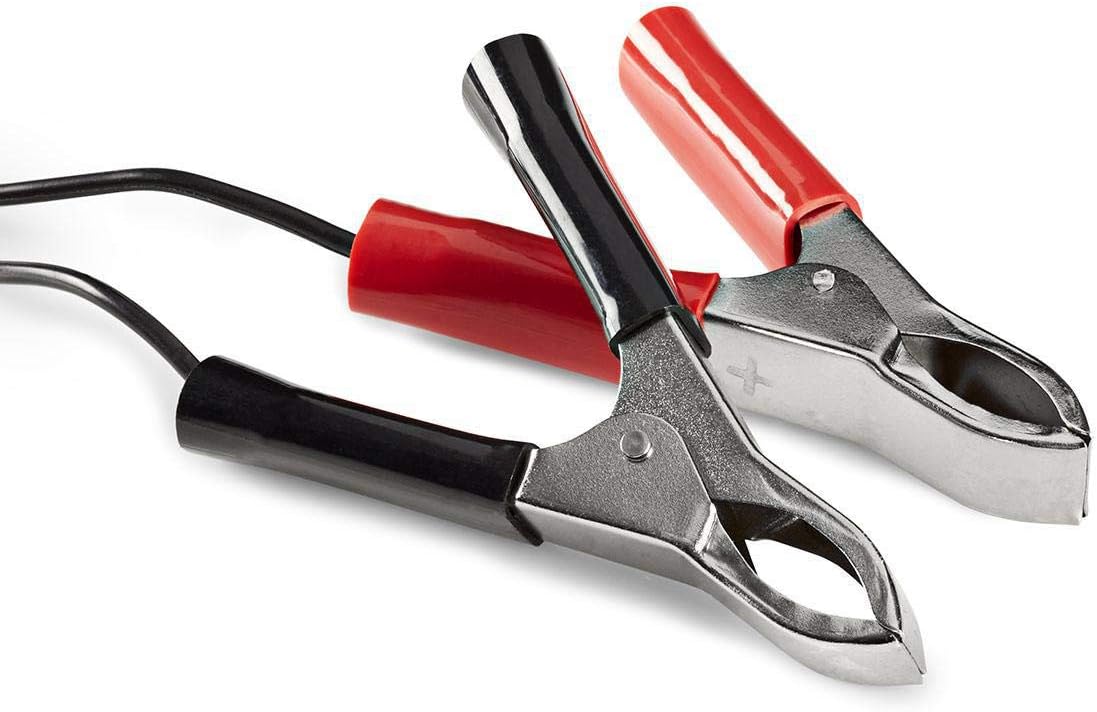
Image: Close-up of the red (positive) and black (negative) battery clamps.
- Enerjiyə qoşulun: Bir dəfə batareya clamps are securely connected, plug the charger's AC power cable into a standard 220V wall outlet.
5. Əməliyyat Təlimatları
The NEDIS BACCH02 is a fully automatic charger. Once connected to the battery and power, it will automatically begin the charging process.
Doldurma prosesi:
- Polarite yoxlanışı: If the red 'Polarity' LED illuminates, it indicates that the battery clamps are connected incorrectly. Immediately unplug the charger from the AC outlet and correct the connections before plugging it back in.
- Doldurma Göstərişi: The green 'Charge' LED will blink when the battery is actively charging.
- Tam doldurulma göstəricisi: When the battery is fully charged, the green 'Charge' LED will stop blinking and remain solid. The charger will then automatically switch to a maintenance (float) charge mode to keep the battery at optimal capacity without overcharging.
Şarj cihazının ayrılması:
To disconnect the charger after use:
- Unplug the charger's AC power cable from the wall outlet first.
- Disconnect the black (-) battery clamp from the negative terminal of the battery.
- Disconnect the red (+) battery clamp batareyanın müsbət terminalından.
6. Baxım
Düzgün qulluq şarj cihazınızın uzunömürlülüyünü təmin edir:
- Keep the charger clean and dry. Wipe with a soft, dry cloth. Do not use abrasive cleaners or solvents.
- İstifadə edilmədikdə şarj cihazını sərin, quru yerdə saxlayın.
- Regularly inspect the AC power cable, DC output cables, and battery clampHər hansı bir zədələnmə, aşınma və ya korroziya əlamətləri üçün s. Lazım gələrsə, dəyişdirin.
7. Giderme
Əgər şarj cihazınızla bağlı problemlə qarşılaşsanız, aşağıdakı cədvələ baxın:
| Problem | Mümkün Səbəb | Həll |
|---|---|---|
| Şarj cihazı açılmır / LED-lər yanmır | No power supply; Faulty outlet; Damaged cable. | Check AC power connection; Try a different outlet; Inspect cable for damage. |
| Red 'Polarity' LED is lit | Əks polarite bağlantısı. | Unplug charger, correct battery clamp connections (red to +, black to -), then plug back in. |
| Green 'Charge' LED not blinking / Battery not charging | Battery too deeply discharged; Incorrect voltage selected; Damaged battery. | Düzgün həcmdən əmin oluntage is selected; Battery may be beyond recovery; Have battery tested by a professional. |
| Charger unit feels excessively hot | Normal operation (some warmth is expected); Overload; Internal fault. | Ensure adequate ventilation; Disconnect immediately if excessively hot and contact support. |
8. Spesifikasiyalar
| Xüsusiyyət | Spesifikasiya |
|---|---|
| Model | BACCH02 |
| Element Model nömrəsi | 5412810284245 |
| Giriş həcmitage | 220V AC |
| Çıxış həcmitage | 2V / 6V / 12V DC (selectable) |
| Suitable Battery Capacity | 2.2 Ah - 10 Ah |
| Qoruma Xüsusiyyətləri | Reverse Polarity, Short Circuit |
| Məhsulun Ölçüləri (U x G x Y) | 7 x 10 x 6 sm |
| Maddə Çəkisi | 680 qram |
| Uyğunluq | CE |
| Rəng | Qara |
9. Zəmanət və Dəstək
This product is covered by the standard warranty terms provided by the retailer at the time of purchase. For specific warranty details, please refer to your purchase documentation or contact the retailer directly.
For technical support, troubleshooting assistance beyond what is provided in this manual, or inquiries regarding parts and service, please contact your point of purchase or the manufacturer's customer service department.


