1. Giriş
Thank you for choosing the ETA Falco Smart Robot Vacuum Cleaner with Mopping Function. This manual provides essential information for the safe and efficient operation, maintenance, and troubleshooting of your device. Please read this manual thoroughly before using the product and keep it for future reference.
Əhəmiyyətli Təhlükəsizlik Məlumatı
- Always ensure the robot is placed on a stable, level surface.
- Cihazı sudan və nəmdən uzaq saxlayın.
- Do not allow children or unauthorized persons to operate the robot.
- Use only the original charging adapter and accessories provided.
- Before cleaning or maintenance, ensure the robot is powered off and unplugged from the charging station.
- Avoid operating the robot near open flames or flammable materials.
2. Məhsul bitdiview
Komponentlər və İdarəetmələr
Familiarize yourself with the main parts and controls of your ETA Falco Smart robot vacuum cleaner.
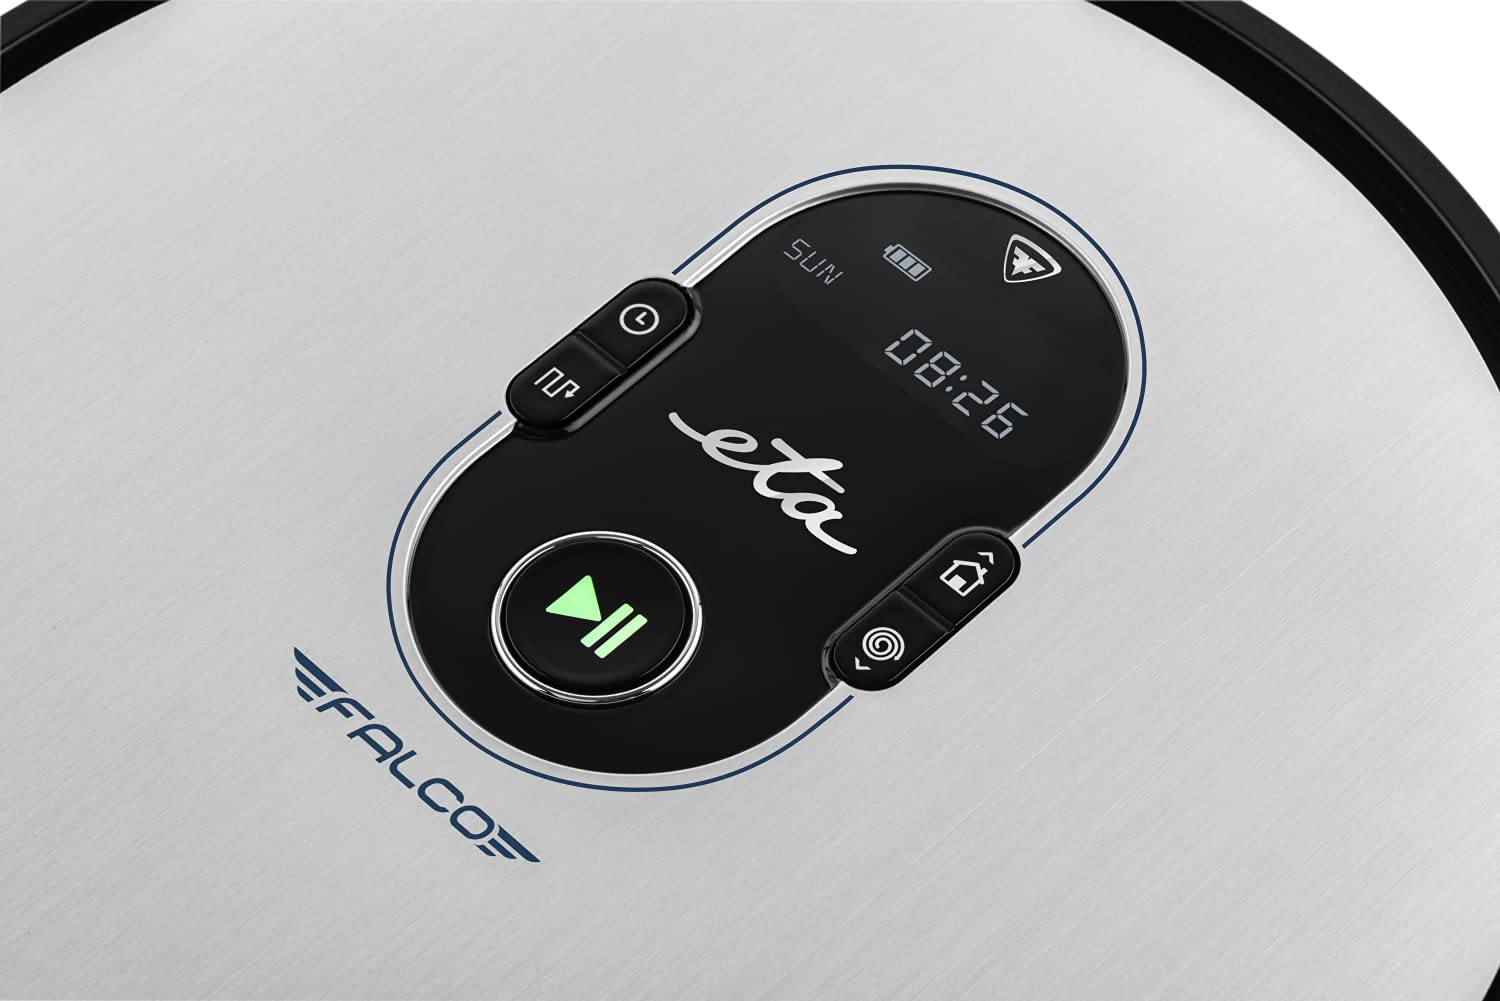
Şəkil 2.1: Top panel controls. This image shows the main control panel on the top of the robot, including buttons for power, scheduling, and return to charging station, along with a digital display.

Şəkil 2.2: Alt tərəfi view. This image displays the bottom of the robot, highlighting the main brush, two side brushes, and the mop attachment.

Şəkil 2.3: Underside diagram. This diagram labels the key components on the robot's underside, including the side brushes, main brush, and mop attachment.
3. Paketin məzmunu
Qablaşdırmanı açarkən, aşağıdakı bütün əşyaların mövcud olduğundan əmin olun:
- ETA Falco Smart Robot Vacuum Cleaner
- Enerji stansiyası
- Şarj adapteri
- Uzaqdan İdarəetmə
- 2x Spare Side Brushes
- Special Rotary and Lamella Brush
- 2x Cleaning Cloths (Mop Pads)
- Ehtiyat HEPA filtri
- Mop Attachment with 300 ml Water Tank
- Virtual divar
4. Quraşdırma
4.1 İlkin Doldurma
- Şarj stansiyasını açıq sahədə divara söykəndirin və yanlardan 1 metr, öndən isə 2 metr məsafədə heç bir maneə olmadığından əmin olun.
- Connect the charging adapter to the charging station and plug it into a power outlet.
- Place the robot vacuum cleaner on the charging station. Ensure the charging contacts align. The robot will begin charging automatically. A full charge takes approximately 5 hours.
4.2 Yan Fırçaların quraşdırılması
Attach the side brushes to the designated posts on the underside of the robot by pressing them down until they click into place. Ensure the 'L' and 'R' markings on the brushes match the corresponding markings on the robot.
4.3 Connecting to the ETA SMART App
The ETA SMART app enhances the functionality of your robot. Download the app from your smartphone's app store. Follow the in-app instructions to connect your robot to your home Wi-Fi network and pair it with the app.
4.4 Setting up the Virtual Wall
The virtual wall creates an invisible barrier to restrict the robot's access to certain areas. Place the virtual wall device on the floor where you want to create a boundary. Ensure the infrared beam is directed towards the area you wish to block. The robot will detect this beam and avoid crossing it.

Şəkil 4.1: Robot with charging station and virtual wall. This image shows the robot positioned near its charging station, with a virtual wall device placed nearby to illustrate its function.
5. Əməliyyat Təlimatları
5.1 Təmizləmə Rejimi
The ETA Falco Smart offers four distinct cleaning modes:
- SMART: General cleaning mode for optimal coverage.
- KLASSİK: Standard cleaning pattern.
- EDGE: Divarları və mebel kənarlarını təmizləyir.
- LƏKƏ: Müəyyən bir ərazidə konsentratlı təmizləmə.
You can select these modes via the ETA SMART app or the remote control.
5.2 Təmizliyin planlaşdırılması
Use the ETA SMART app to set a cleaning schedule for your robot. You can program specific times and days for the robot to automatically start cleaning.
5.3 Əllə İdarəetmə
You can manually control the robot's movement and functions using the remote control or the ETA SMART app. The app also allows you to monitor cleaning activity, battery charge, and view cleaning routes.

Şəkil 5.1: ETA Smart App features. This image displays the ETA Smart App interface on a smartphone, highlighting features such as remote control, cleaning history, activity monitoring, battery status, cleaning modes (SMART, CLASSIC, EDGE, SPOT), cleaning schedule, mopping intensity control, and suction power adjustment.
5.4 Silinmə funksiyası
- Fill the 300 ml water tank with clean water. Do not use detergents or cleaning solutions that are not approved for robot vacuums.
- Attach a clean mop pad to the mop attachment.
- Slide the mop attachment into the designated slot on the underside of the robot.
- Təmizləmə dövrünə başlayın. Robot eyni vaxtda tozsoran və siləcək.
6. Baxım
Daimi texniki qulluq optimal performansı təmin edir və robot tozsoranınızın ömrünü uzadır.
6.1 Toz qutusunun və filtrin təmizlənməsi
- Toz qutusunun buraxma düyməsini basın və toz qutusunu çıxarın.
- Toz qabını açın və içindəkiləri zibil qutusuna boşaltın.
- Remove the HEPA filter and primary filter. Tap them gently to remove dust. If washable, rinse under running water and allow to air dry completely before reinserting.
- Wipe the inside of the dust bin with a dry cloth.
- Reassemble the filters and dust bin, then reinsert into the robot.
6.2 Əsas Fırçanın təmizlənməsi
- Robotu çevirin.
- Remove the main brush cover by pressing the release tabs.
- Əsas fırçanı qaldırın.
- Use the cleaning tool (if provided) or scissors to remove hair and debris tangled around the brush.
- Clean the brush compartment.
- Əsas fırçanı yenidən daxil edin və örtüyü bərkidin.
6.3 Yan Fırçaların Təmizlənməsi
Periodically check the side brushes for tangled hair or debris. If necessary, remove them by gently pulling upwards and clean them. Replace worn or damaged brushes with the spare ones provided.
6.4 Mop Yastığının və Su Çəninin Təmizlənməsi
After each mopping session, remove the mop pad and wash it thoroughly. Empty any remaining water from the water tank and rinse it. Allow both to air dry completely before storing or reusing.
6.5 Sensorların təmizlənməsi
Wipe the anti-drop sensors, bumper sensors, and charging contacts on the robot and charging station with a clean, dry cloth to ensure proper function.
7. Giderme
If your robot vacuum cleaner encounters an issue, refer to the following common problems and solutions:
| Problem | Mümkün Səbəb | Həll |
|---|---|---|
| Robot açılmır | Aşağı batareya; Gücü söndürün | Charge the robot; Ensure power switch is ON |
| Robot doldurulmur | Şarj kontaktları çirklidir; Şarj stansiyası qoşulmayıb | Clean charging contacts; Ensure charging station is plugged in |
| Zəif təmizləmə performansı | Dust bin full; Brushes tangled; Filter clogged | Empty dust bin; Clean brushes; Clean/replace filter |
| Robot tez-tez ilişib qalır | Obstacles on floor; Sensors dirty | Clear floor of cables/small items; Clean sensors |
| Virtual wall not working | Virtual wall batteries low; Incorrect placement | Replace batteries; Adjust virtual wall position |
Bu həlləri sınadıqdan sonra problem davam edərsə, müştəri dəstəyi ilə əlaqə saxlayın.
8. Spesifikasiyalar
Technical specifications for the ETA Falco Smart Robot Vacuum Cleaner (Model ETA251590000):
| Xüsusiyyət | Detal |
|---|---|
| İstehsalçı | ETA |
| Məhsulun Ölçüləri (U x G x Y) | 32.5 x 33.5 x 7.5 sm |
| Çəki | 250 qram |
| Element Model nömrəsi | ETA251590000 (T2261) |
| Model Rəngi | Mavi |
| Material | plastik |
| Güc növü | Batareya ilə işləyir |
| Cildtage | 3 Volts (14.4V Li-ion battery, 2400 mAh) |
| Paketdəki əşyaların sayı | 1 |
| Xüsusi Xüsusiyyətlər | Pet brush compatibility, Smart App control, Floating brush system, HEPA filter, Virtual wall |
| Daxil olan komponentlər | Battery, Filter, Charging station, Adapter, Remote control, Side brushes, Rotary brush, Cleaning cloths, Mop attachment, Virtual wall |
| Batareyanın tərkibi | Litium-ion |
| Batareya Ömrü | 120 dəqiqəyə qədər |
| Doldurma vaxtı | təqribən. 5 saat |
| Səthi tövsiyə | Laminat |
| Nəzarətçi növü | Tətbiq nəzarəti |
| Ehtiyat hissələrinin mövcudluğu | Ehtiyat hissələri haqqında məlumat yoxdur |
9. Zəmanət və Dəstək
For warranty information, product support, or to inquire about spare parts, please refer to the warranty card included with your purchase or visit the official ETA websayt. Zəmanət iddiaları üçün satınalma sübutunuzu saxlayın.


