1. Giriş
Thank you for choosing the CREATE NETBOT S40 Robot Vacuum and Mop. This manual provides essential information for the safe operation, maintenance, and troubleshooting of your device. Please read it thoroughly before first use and retain it for future reference.
2. Təhlükəsizlik Təlimatları
Yaralanma və ya zədələnmə riskini azaltmaq üçün aşağıdakı təhlükəsizlik tədbirlərinə əməl edin:
- Bu cihaz 8 yaşdan yuxarı uşaqlar və fiziki, duyğu və ya əqli imkanları zəif olan və ya təcrübəsi və biliyi olmayan şəxslər tərəfindən istifadə oluna bilər, əgər onlara nəzarət və ya cihazın təhlükəsiz şəkildə istifadəsi ilə bağlı təlimat verilmiş və bununla bağlı təhlükələri başa düşmüşlər. .
- Uşaqlar cihazla oynamamalıdır. Təmizləmə və istifadəçi baxımı nəzarətsiz uşaqlar tərəfindən aparılmamalıdır.
- Ensure the robot is placed on a stable, level surface.
- Do not expose the robot to water or other liquids.
- Saçları, boş paltarları, barmaqları və bədənin bütün hissələrini açılışlardan və hərəkət edən hissələrdən uzaq tutun.
- Robotu açıq alov və ya partlayıcı materiallar olan ərazilərdə işlətməyin.
- Use only the original charging adapter and battery provided by the manufacturer.
- Before cleaning or maintenance, always switch off the robot and unplug it from the power source.
3. Paketin məzmunu
Bütün əşyaların paketinizdə olduğunu yoxlayın:
- CREATE NETBOT S40 Robot Vacuum and Mop
- Doldurma Dok
- Güc adapteri
- Uzaqdan İdarəetmə
- Yan Fırçalar (2 cüt)
- Main Brush (pre-installed + 1 spare)
- Toz qutusu
- Water Tank with Mop Pad
- Təmizləmə Aləti
- İstifadəçi təlimatı
4. Məhsul bitdiview
Familiarize yourself with the components of your CREATE NETBOT S40.

Şəkil 4.1: Yuxarı view of the CREATE NETBOT S40 robot vacuum, showing the main unit, a roller brush, a smartphone displaying the control app, and the remote control.

Şəkil 4.2: Aşağı view of the robot, illustrating the main brush, side brushes, wheels, and various sensors.
Robot Komponentləri
- Üst qapaq: Houses the dust bin/water tank.
- Güc/Başlat düyməsi: Initiates or pauses cleaning.
- Doldurma kontaktları: For automatic charging at the dock.
- Yan Fırçalar: Əsas fırça yoluna zibil süpürün.
- Əsas Fırça: Döşəmədən toz və zibil toplayır.
- Toz qutusu: Quru zibil toplayır.
- Su çəni: Sürtmək üçün su saxlayır.
- Mop Pad: Attaches to the water tank for wet cleaning.
- Uçurum Sensorları: Detect edges and prevent falls.
- Bamper: Maneələri aşkar edir.
- Sürücü təkərləri: Propel the robot.
- Universal Təkər: Provides steering.

Image 4.3: Close-up of the robot's top cover, showing the 'CREATE NETBOT S40' branding.
5. Quraşdırma
5.1 Doldurma Dokunun Yerləşdirilməsi
Place the charging dock against a wall in an open, uncluttered area. Ensure there is at least 1 meter (3 feet) of clear space on both sides and 2 meters (6 feet) in front of the dock. Plug the power adapter into the dock and then into a wall outlet.

Image 5.1: The robot positioned next to its charging dock, illustrating proper placement.
5.2 İlkin Doldurma
Place the robot onto the charging dock, ensuring the charging contacts align. The robot will emit a sound and the indicator light will illuminate, indicating it is charging. Fully charge the robot for 4-6 hours before its first use.
5.3 App Connection (Wi-Fi & Alexa)
For full functionality, download the CREATE Home app from your smartphone's app store. Follow the in-app instructions to connect your NETBOT S40 to your home Wi-Fi network. Once connected, you can link the app to Alexa for voice control.
- Download the 'CREATE Home' app.
- Qeydiyyatdan keçin və ya hesabınıza daxil olun.
- Add your device by selecting 'Robot Vacuum' and following the pairing instructions.
- Wi-Fi şəbəkənizin 2.4 GHz olduğundan əmin olun.

Image 5.2: The robot shown alongside a smartphone displaying the CREATE Home app interface, indicating successful connection and mapping capabilities.
6. Əməliyyat Təlimatları
6.1 Təmizləməyə başlamaq/dayandırmaq
- Robotdan: Press the power button on the robot's top cover.
- From Remote Control: Press the 'Start/Pause' button.
- Tətbiqdən: Tap the 'Start' button in the CREATE Home app.
6.2 Təmizləmə Rejimi
The NETBOT S40 offers various cleaning modes:
- Avtomatik təmizləmə: Robot ağıllı şəkildə naviqasiya edir və bütün döşəmə sahəsini təmizləyir.
- Ləkə təmizlənməsi: Concentrates cleaning on a specific small area.
- Kenarların təmizlənməsi: Divarları və mebel kənarlarını təmizləyir.
- Planlaşdırılmış Təmizlik: Tətbiq vasitəsilə robotun avtomatik təmizlənməsi üçün müəyyən vaxtlar təyin edin.
6.3 Silinmə funksiyası
Silinmə funksiyasından istifadə etmək üçün:
- Su çənini təmiz su ilə doldurun. Yuyucu vasitələrdən və ya sərt kimyəvi maddələrdən istifadə etməyin.
- Mop yastığını su çəninə etibarlı şəkildə bağlayın.
- Doldurulmuş su çənini robota yerləşdirin.
- Təmizləmə dövrünə başlayın. Robot eyni vaxtda tozsoran və siləcək.

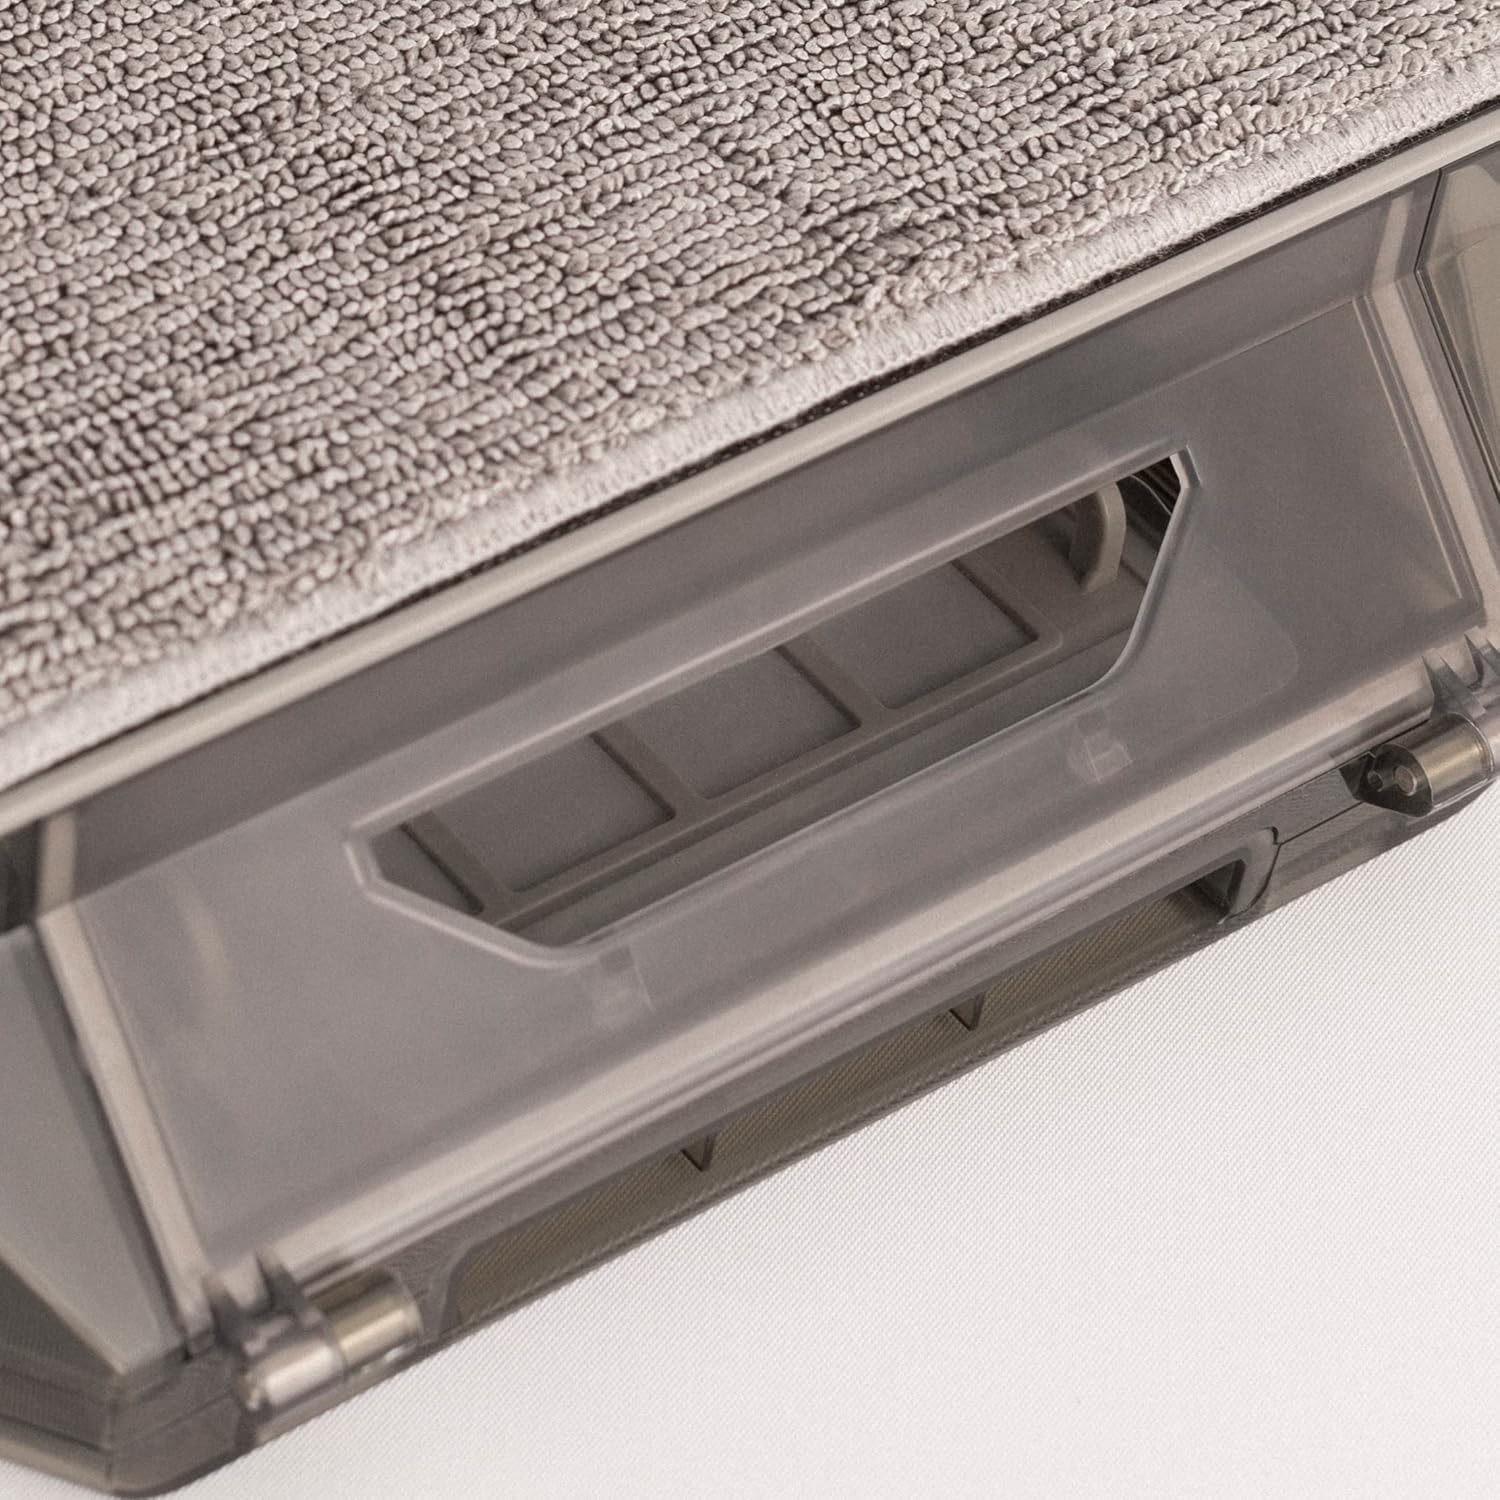
Şəkil 6.1: Yaxından view of the mop pad attached to the water tank, ready for installation into the robot.
7. Baxım
Daimi texniki qulluq optimal performansı təmin edir və robotunuzun ömrünü uzadır.
7.1 Toz Qabı və Filtrin Təmizlənməsi
Empty the dust bin after each use and clean the filter regularly.
- Press the release button to remove the dust bin.
- Toz qabının qapağını açın və içindəkiləri boşaldın.
- Remove the filter and tap it gently to remove dust. Do not wash the HEPA filter with water.
- Lazım gələrsə, toz qabını su ilə yuyun və yenidən quraşdırmadan əvvəl tamamilə quru olduğundan əmin olun.
Şəkil 7.1: Ətraflı view of the dust bin and its filter compartment, showing how it integrates into the robot.
7.2 Əsas Fırçanın Təmizlənməsi
Clean the main brush weekly to remove tangled hair and debris.
- Turn the robot over and locate the main brush cover.
- Remove the cover and lift out the main brush.
- Use the provided cleaning tool to cut and remove tangled hair.
- Əsas fırçanı və örtüyü yenidən quraşdırın.
7.3 Yan Fırçanın Təmizlənməsi
Inspect side brushes regularly for wear and tear, and clean them as needed.
- Yan fırçaları çıxarmaq üçün onları yumşaq bir şəkildə yuxarı çəkin.
- Remove any hair or debris.
- Fırçalar zədələnibsə, onları yeniləri ilə əvəz edin.
- Press the new brushes firmly onto their posts until they click into place.
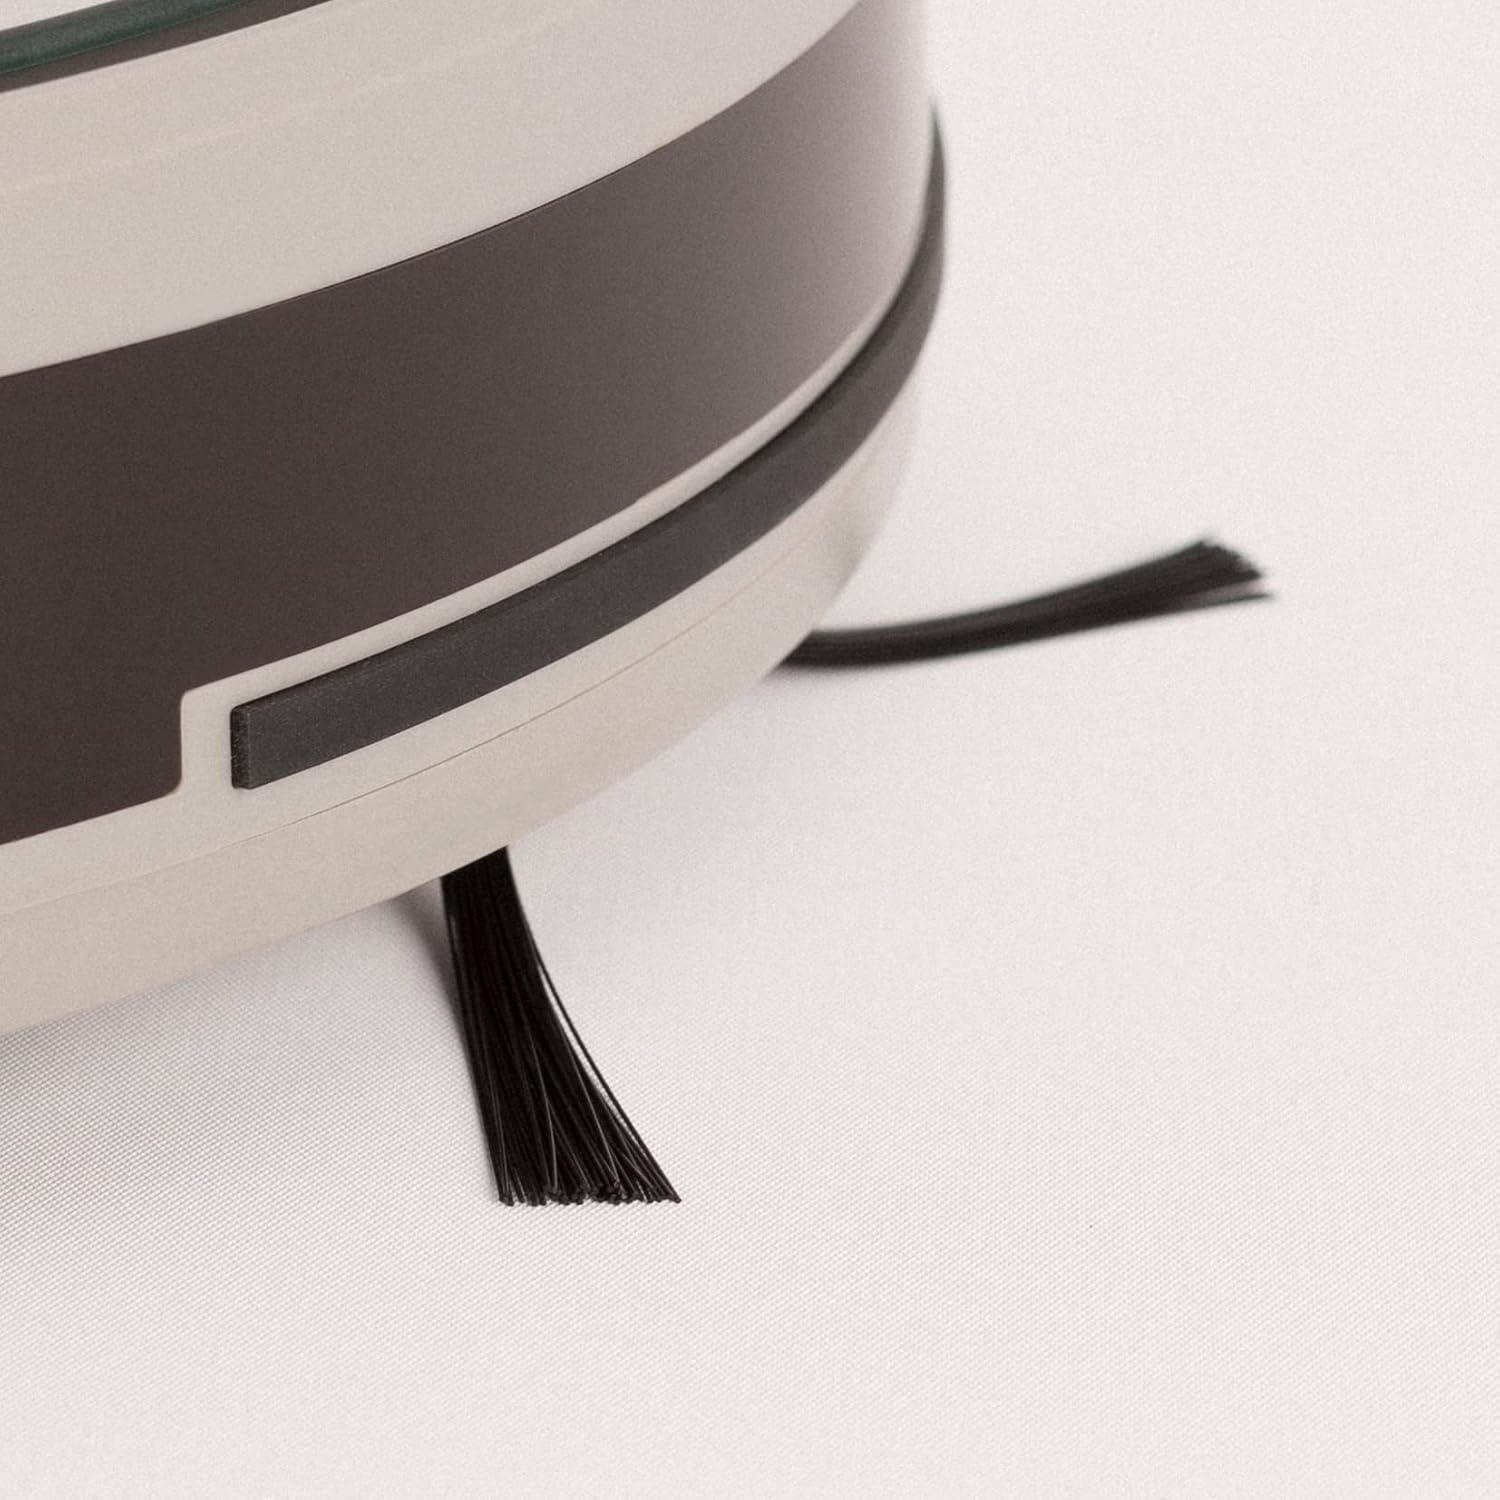
Image 7.2: Close-up of a side brush, showing its bristles and attachment point.
7.4 Su çəninin və paspasların təmizlənməsi
After each mopping session:
- Qalan suyu tankdan boşaltın.
- Remove the mop pad and rinse it thoroughly with water. Allow it to air dry.
- Su çənini reklamla təmizləyinamp parça.
7.5 Sensorun təmizlənməsi
Wipe all sensors (cliff sensors, bumper sensor) with a clean, dry cloth monthly to ensure proper navigation.
8. Giderme
If you encounter issues with your robot, refer to the following table:
| Problem | Mümkün Səbəb | Həll |
|---|---|---|
| Robot açılmır | Aşağı batareya; Gücü söndürün | Robotu doldurun; Güc açarının açıq olduğundan əmin olun |
| Robot şarj edə bilmir | Şarj kontaktları çirklidir; Dok elektrik təchizatı ilə təchiz olunmur | Clean charging contacts; Check power adapter connection |
| Cleaning performance is poor | Dust bin full; Brushes tangled; Filter clogged | Empty dust bin; Clean main/side brushes; Clean/replace filter |
| Robot tez-tez ilişib qalır | Obstacles on floor; Cliff sensors dirty | Döşəmə sahəsini təmizləyin; Uçqun sensorlarını təmizləyin |
| Tətbiq bağlantısı uğursuz oldu | Yanlış Wi-Fi parolu; Router çox uzaqdadır; 5GHz Wi-Fi | Verify password; Move robot closer to router; Ensure 2.4GHz Wi-Fi |
Problem davam edərsə, müştəri dəstəyi ilə əlaqə saxlayın.
9. Spesifikasiyalar
- Brend: YARAT
- Model Adı: NETBOT S40
- Model nömrəsi: 130436_269434
- Emiş gücü: 4000 Pa (as per product description)
- Batareyanın ömrü: Up to 220 minutes (as per product description)
- Bağlantı: Wi-Fi, App Control, Alexa compatible
- Ölçülər: 64 x 40 x 12 cm (package dimensions)
- Maddə çəkisi: 116 Grams (as per specifications, likely product weight is higher, but using provided data)
- Batareya Daxildir: Bəli
10. Zəmanət və Dəstək
Your CREATE NETBOT S40 comes with a standard manufacturer's warranty. Please refer to the warranty card included in your package for specific terms and conditions, including warranty period and coverage.
For technical support, troubleshooting assistance, or to inquire about replacement parts, please contact CREATE customer service through their official websayt və ya məhsul sənədlərinizdə göstərilən əlaqə məlumatı.


