1. Giriş və yuxarıview
This manual provides essential instructions for the safe and efficient use of your Maxcom MM135L Basic Mobile Phone. The MM135L is designed for straightforward communication, featuring a user-friendly interface, large keys, and a 1.77-inch screen. It supports 2G networks and includes dual SIM capability, an SOS button for emergencies, and convenient USB-C charging. Please read this manual thoroughly before operating the device.
2. Paketin məzmunu
Bütün əşyaların paketdə olduğunu yoxlayın:
- Maxcom MM135L Mobile Phone
- Battery (Lithium-Ion, 600 mAh)
- USB kabel
- SİM Tablasının Ejektoru
- İstifadəçi Təlimatı (bu sənəd)
3. Cihazın tərtibatı
Familiarize yourself with the physical components of your Maxcom MM135L phone.
Şəkil 3.1: Arxa view of the Maxcom MM135L phone, showing the blue textured back cover, Maxcom logo, and speaker grille at the top.

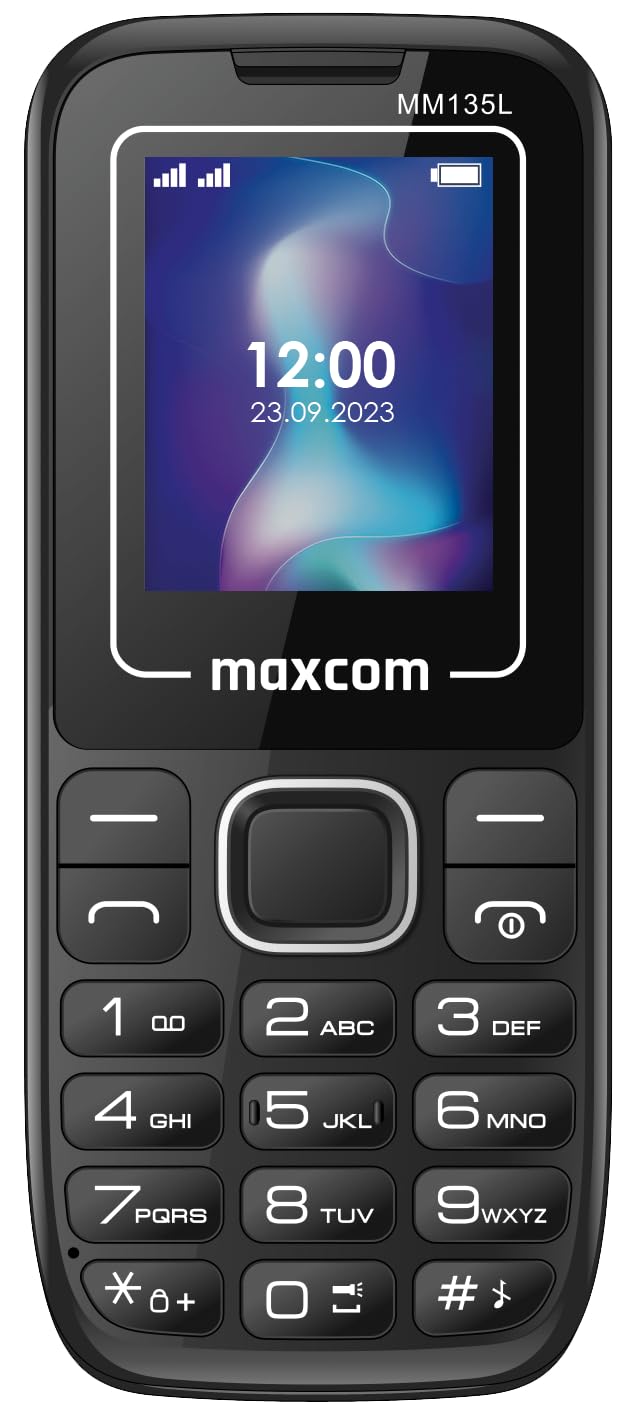
Şəkil 3.2: Ön view of the Maxcom MM135L phone, displaying the screen, large numeric keypad, and call/end buttons.

Figure 3.3: Bottom edge of the phone, featuring the USB-C charging port and a 3.5mm headphone jack.

Figure 3.4: Top edge of the phone, highlighting the integrated flashlight.
Əsas komponentlər:
- Ekran Ekranı: 1.77-inch LCD for clear text and call information.
- Rəqəmsal Klaviatura: Large, tactile buttons for easy dialing and texting.
- Call/End Buttons: Dedicated buttons for managing calls.
- Naviqasiya düymələri: Menyu naviqasiyası üçün.
- SOS düyməsi: Located on the rear for emergency calls (refer to Figure 3.1).
- Fənər: Integrated at the top of the device (refer to Figure 3.4).
- USB-C portu: For charging the device (refer to Figure 3.3).
- Qulaqlıq Jack: 3.5mm port for audio accessories (refer to Figure 3.3).
4. Quraşdırma
4.1 Batareyanın quraşdırılması
- Telefonun arxa qapağını ehtiyatla çıxarın.
- Batareya kontaktlarını batareya bölməsinin içərisindəki terminallarla uyğunlaşdırın.
- Gently press the battery into place.
- Arxa qapağı dəyişdirin, onun etibarlı şəkildə kliklənməsini təmin edin.
4.2 SİM kartın quraşdırılması
The Maxcom MM135L supports dual SIM cards.
- With the phone powered off and the back cover removed, locate the SIM card slots.
- Insert your SIM card(s) into the designated slot(s) with the gold contacts facing down, following the orientation indicated on the phone.
- SIM kart(lar)ın tam yerləşdiyinə əmin olun.
- Replace the back cover and battery.
4.3 Telefonun doldurulması
The phone uses a USB-C port for charging.
- Connect the USB-C cable to the charging port at the bottom of the phone (refer to Figure 3.3).
- USB kabelinin digər ucunu uyğun USB enerji adapterinə və ya kompüterin USB portuna qoşun.
- Ekrandakı batareya göstəricisi şarj vəziyyətini göstərəcək.
- Batareya tam doldurulduqdan sonra şarj cihazını ayırın.
Qeyd: For optimal battery life, fully charge the phone before first use.
5. Əməliyyat Təlimatları
5.1 Yandırma/Söndürmə
- Yandırmaq üçün: basın və saxlayın Call/Power ekran işıqlanana qədər düyməsini basın.
- Söndürmək üçün: basın və saxlayın Son/Güc button until the power off options appear, then confirm.
5.2 Zənglərin edilməsi və qəbulu
- Zəng etmək üçün: Klaviaturadan istifadə edərək telefon nömrəsini daxil edin və düyməni basın Zəng edin düyməsi.
- Zəngə cavab vermək üçün: düyməsini basın Zəng edin telefon zəng çaldıqda düyməni basın.
- Zəngi bitirmək üçün: düyməsini basın Son düyməsi.
5.3 Mesajların Göndərilməsi və Qəbulu
- Navigate to the "Messages" menu using the navigation keys.
- Select "Create New Message" to compose an SMS.
- Alıcının nömrəsini və mesajınızı daxil edin, sonra göndərin.
- Received messages will appear in the "Inbox".
5.4 Using the SOS Button
The SOS button is located on the rear of the phone. It is designed for emergency situations.
- Aktivləşdirmək üçün: Press and hold the SOS button for several seconds.
- The phone will automatically sound an alarm and send emergency SMS messages to pre-set contacts.
- It will then automatically call the saved emergency contacts in a loop until a call is answered.
- Ensure emergency contacts are properly configured in the phone settings.
5.5 Fənər funksiyası
The built-in flashlight can be activated for convenience.
- Refer to the phone's specific settings or a dedicated side button for flashlight activation. Typically, a long press on a designated key or a side switch controls it.
6. Baxım
- Təmizləmə: Telefonun səthini təmizləmək üçün yumşaq, quru parça istifadə edin. Maye təmizləyicilərdən çəkinin.
- Batareyaya qulluq: Batareyanı həddindən artıq temperaturlara məruz qoymayın. Tez-tez batareyanı tam boşaltmaqdan çəkinin.
- Yaddaş: Telefonu uzun müddət istifadə etmədikdə sərin və quru yerdə saxlayın.
- Suya davamlılıq: Bu telefon suya davamlı deyil. Mayelərlə təmasdan çəkinin.
7. Giderme
| Problem | Mümkün Həll |
|---|---|
| Telefon açılmır. | Batareyanın düzgün quraşdırıldığından və doldurulduğundan əmin olun. Adapteri qoşun və yenidən cəhd edin. |
| Zəng etmək və ya qəbul etmək mümkün deyil. | SİM kartın düzgün daxil olub-olmadığını və aktivləşdirildiyini yoxlayın. Şəbəkə siqnalının gücünü yoxlayın. Problemlər davam edərsə, xidmət təminatçınızla əlaqə saxlayın. |
| Batareya doldurulmur. | Ensure the USB-C cable and charger are securely connected and functional. Try a different charging cable or adapter. |
| SOS düyməsi işləmir. | Verify that emergency contacts are saved in the phone's settings. Ensure the phone has network coverage. |
| Zəng keyfiyyətinin aşağı olması. | Move to an area with better network reception. Check the speaker and microphone for obstructions. |
8. Spesifikasiyalar
| Xüsusiyyət | Detal |
|---|---|
| Model Adı | MM135L |
| Ekran Ölçüsü | 1.77 düym |
| Ekran növü | LCD |
| Qətnamə | 128 x 160 |
| Hüceyrə Texnologiyası | 2G |
| SIM dəstəyi | İki SIM |
| Batareya növü | Litium-ion |
| Batareya Tutumu | 600 mAh |
| Doldurma Portu | USB-C |
| Ölçülər (U x G x Y) | 7 x 14 x 3.5 sm |
| Çəki | 60 q |
| Xüsusi Xüsusiyyətlər | SOS Button, Flashlight, Expandable Memory, Fast Charging Support |
9. Zəmanət və Dəstək
For warranty information, technical support, or service inquiries, please refer to the warranty card included with your product or contact Maxcom customer service directly. Keep your proof of purchase for warranty claims.


